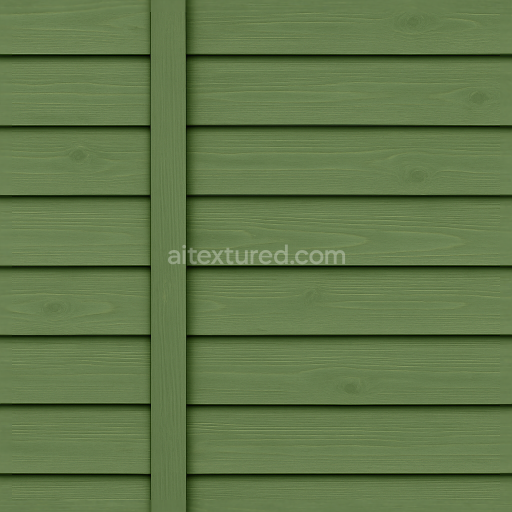
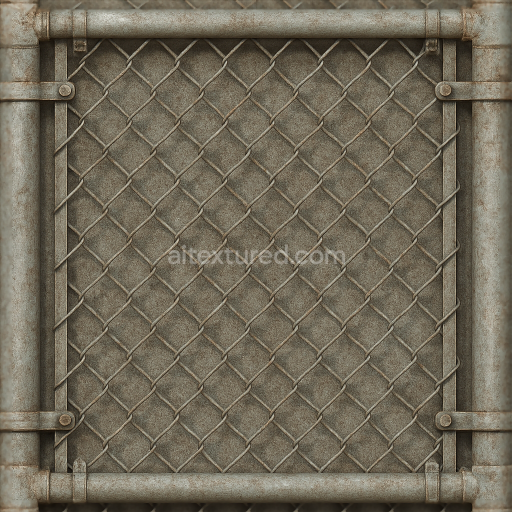
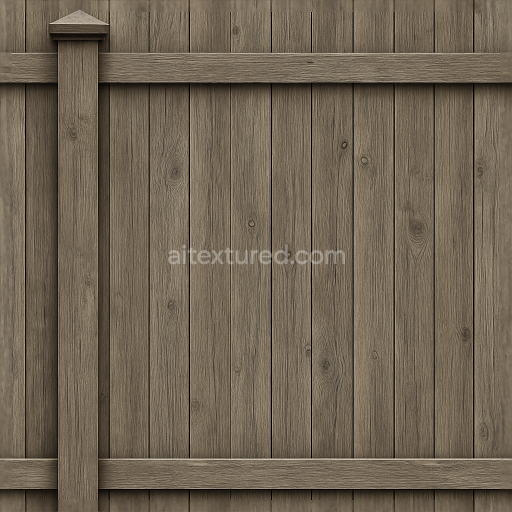
Seamless 8K 3D Texture PBR Garden Fence With Horizontal Slats And Painted Wood In Green F…
Seamless texture (tileable) · PNG, WEBP, PBR ZIP. License: AITextured Free Commercial License (FCL) v1.1. Free personal and commercial use. Raw resale, standalone redistribution, mirroring/scraping, competing asset packs, and AI/ML training are not allowed without written permission. Attribution is not required, but appreciated..

| ID | seamless-3d-texture-pbr-8k-brick-wall-fence-with-dry-stone-wall-elements-and-mossy-stone-patches |
|---|---|
| Category | Fences |
| Formats | PNG, WEBP, PBR ZIP |
| Size | 1k (1024x1024px), 2k (2048x2048px), 4k (4096x4096px), 8k (8192x8192px) |
| Color | sRGB |
| Tileable | Yes |
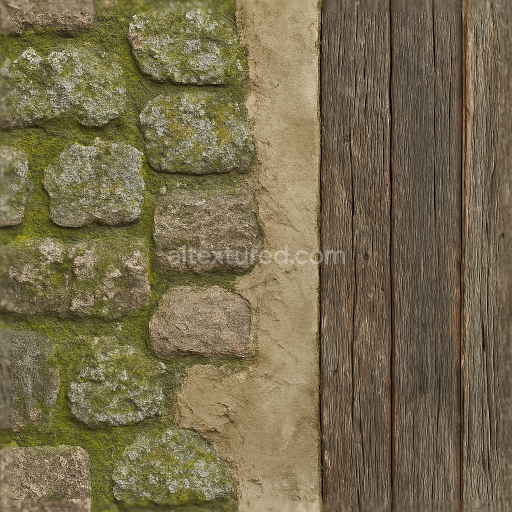
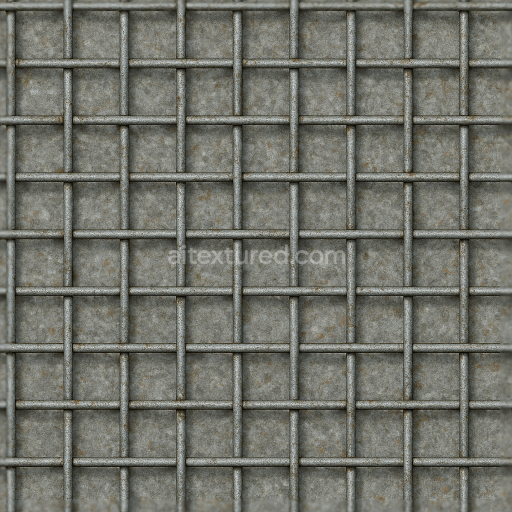
This seamless 8K PBR 3D texture depicts a fence surface combining traditional brick wall construction with dry stone wall elements, accentuated by natural mossy stone patches. The base material primarily consists of fired clay bricks arranged in a classic running bond pattern, interspersed with irregularly shaped natural stones typical of dry stone masonry. The bricks exhibit a slightly rough surface with subtle surface imperfections and mortar joints, while the dry stones present a rugged and porous texture that adds visual complexity and authenticity. Moss growth appears sporadically on the stone surfaces, providing a naturalistic aging effect that enhances the organic character of the fence.
The composition of the brick elements includes a ceramic substrate formed from clay mixed with sand and iron oxide pigments, giving the bricks their warm reddish-brown tones visible in the BaseColor (Albedo) map. The mortar joints act as binders, typically a lime-based cement mixture, with a slightly lighter hue and finer grain texture. The dry stone sections are composed of weathered sedimentary rock, exhibiting surface porosity and micro-variations captured in the Normal and Height maps. Moss patches add a soft, fibrous layer on top of the stone, influencing the Roughness map by increasing surface diffuseness in those areas. The texture’s surface finish is matte to semi-rough, consistent with outdoor masonry exposed to natural elements over time, and the Ambient Occlusion map accentuates crevices and mortar depth for realistic shading.
All relevant PBR channels are meticulously crafted for photorealism. The BaseColor map defines the varied hues of bricks, mortar, stone, and moss. The Normal map provides detailed surface relief including brick edges, stone fissures, and moss texture. Roughness is tuned to reflect the combination of rough stone grains and smoother brick surfaces, while the Metallic map remains essentially black, as the materials are non-metallic. The Ambient Occlusion map enhances depth perception in recessed areas, and the Height/Displacement map supports subtle relief necessary for realistic parallax effects or tessellation in rendering engines.
Designed for seamless tiling, this texture supports continuous application across large fence surfaces without visible seams or repetition artifacts. Its high 8K resolution ensures excellent detail retention even at close camera distances. The texture is fully compatible and optimized for popular 3D software and game engines including Blender, Unreal Engine, and Unity, facilitating straightforward integration into architectural visualizations, game environments, or any project requiring detailed, naturalistic masonry fences.
For practical use, it is recommended to carefully adjust the UV scale to maintain the authentic size and proportion of bricks and stones in your scene. Additionally, fine-tuning the roughness can help simulate varying surface weathering conditions, while subtle blending of the Height and Normal maps can enhance the perceived depth and realism of the mossy patches without causing excessive displacement artifacts.
Import the texture maps into Blender with sRGB color space for albedo/base color and Non-Color for normal, roughness, metallic, AO, height, and ORM maps. Connect normal maps through a Normal Map node, then adjust UV scale with a Mapping node so the material repeats naturally on your model.
For the full step-by-step setup, see How to Use Seamless Textures in Blender. Browse related material examples in wood, concrete, and metal.
Yes. This texture is designed as a seamless tileable PBR material, so it can repeat across large surfaces without visible borders.
You can download PNG/WEBP versions and use 1K, 2K, 4K and 8K download options when available on the page.
Yes. The download options and engine-mapped ZIP workflow are designed for Blender, Unreal Engine, Unity Standard, URP and HDRP material pipelines.
Yes. The texture is available under the AITextured free commercial license. Review the license page for redistribution and AI-training restrictions.

Build, preview, and export seamless PBR materials. Generate full map sets from a single image, inspect them in a real-time WebGL viewer, and re-package maps for Unreal, Unity, and Blender—directly in your browser.
AI text-to-texture: type a prompt and get a seamless, tileable base image ready for PBR workflows (great starting point for materials).
Create a full PBR set (Normal, Roughness, AO, Metallic, etc.) from a single image. Seamless and tiling-friendly.
Instant WebGL viewer: inspect materials on a sphere, plane, and cube. Check tiling and lighting in real time.
Re-packages maps per engine: Unreal (BaseColor + ORM), Unity (Mask/MetallicSmoothness), Blender (separate channels).
PNG ↔ JPG ↔ SVG: fast convert, SVG rasterize, embed/trace options, quality & background controls.