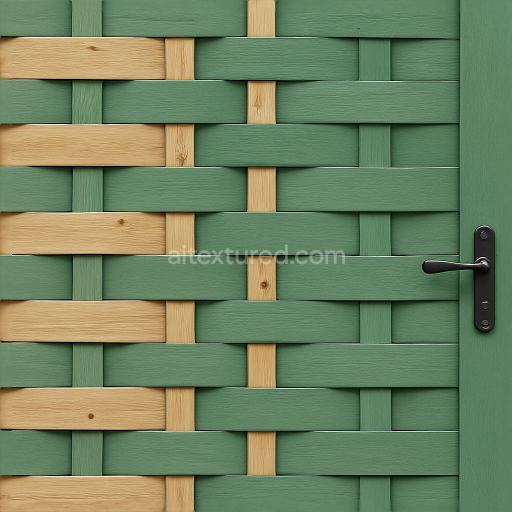
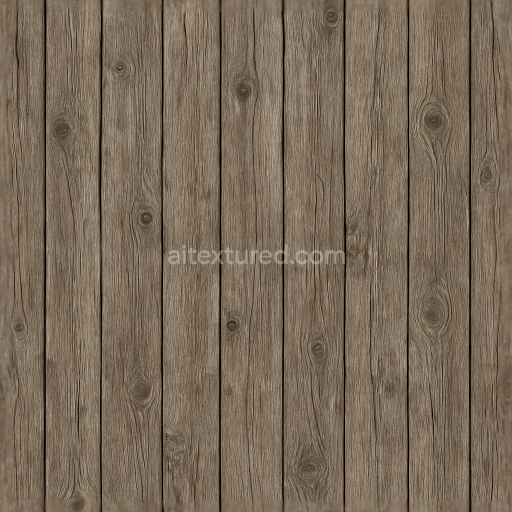
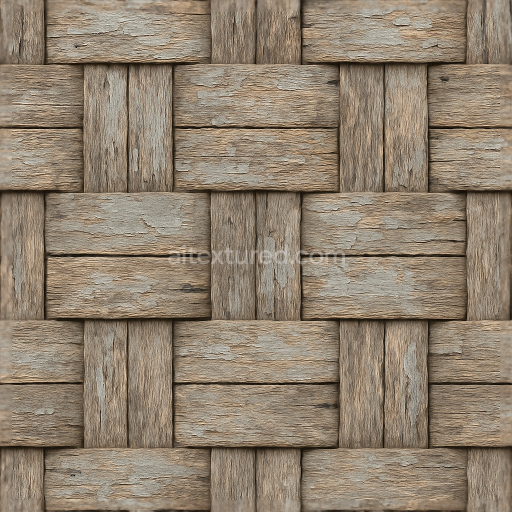
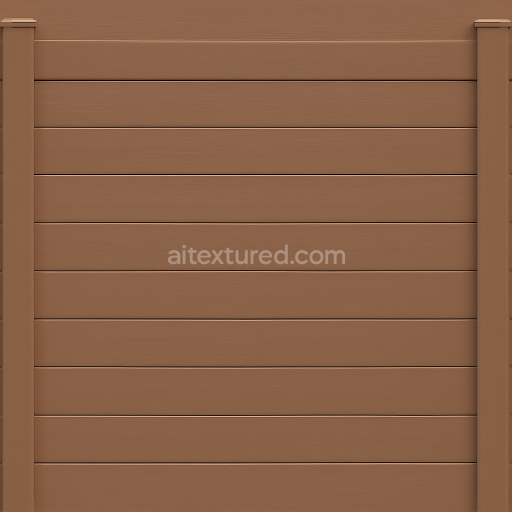
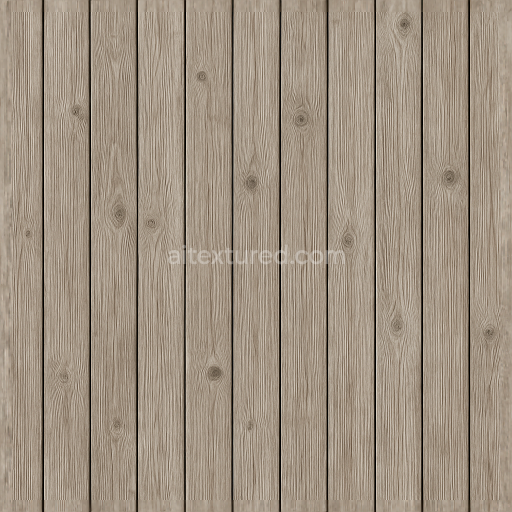
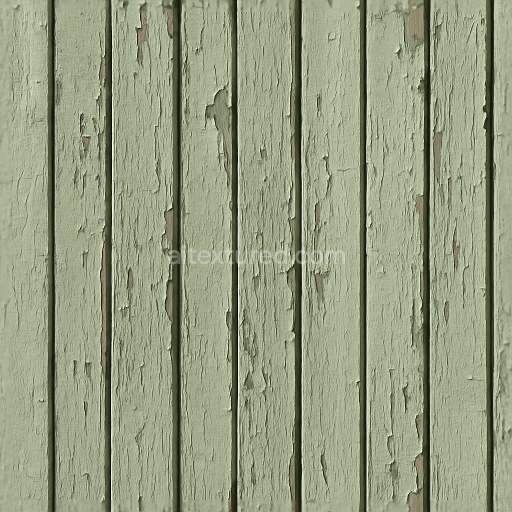
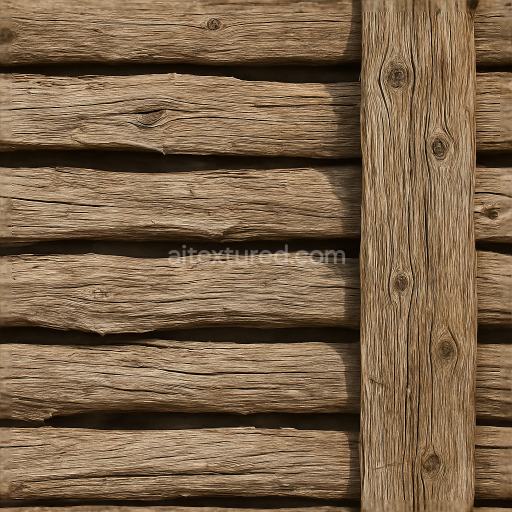
Seamless 8K 3D Texture PBR Woven Wood Garden Fence With Green Fence Paint And Fence Latch…
Seamless texture (tileable) · PNG, WEBP, PBR ZIP. License: AITextured Free Commercial License (FCL) v1.1. Free personal and commercial use. Raw resale, standalone redistribution, mirroring/scraping, competing asset packs, and AI/ML training are not allowed without written permission. Attribution is not required, but appreciated..

| ID | seamless-3d-texture-pbr-8k-metal-gate-fence-with-aged-metal-and-oxidized-metal-surface |
|---|---|
| Category | Fences |
| Formats | PNG, WEBP, PBR ZIP |
| Size | 1k (1024x1024px), 2k (2048x2048px), 4k (4096x4096px), 8k (8192x8192px) |
| Color | sRGB |
| Tileable | Yes |
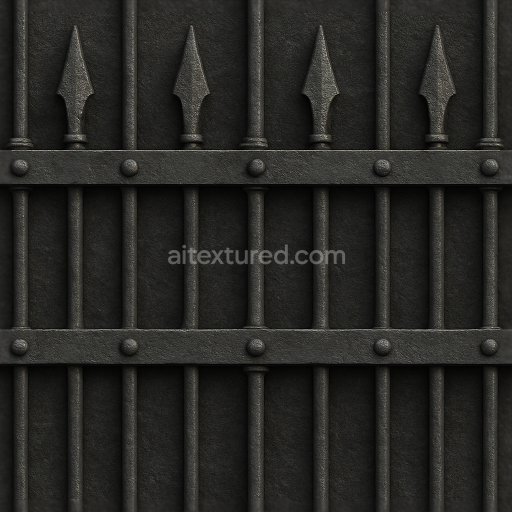
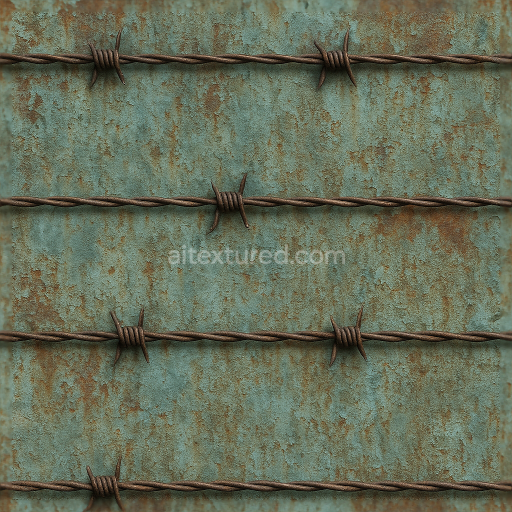
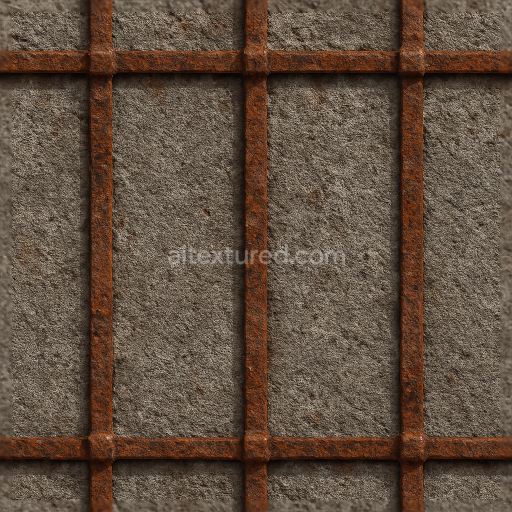
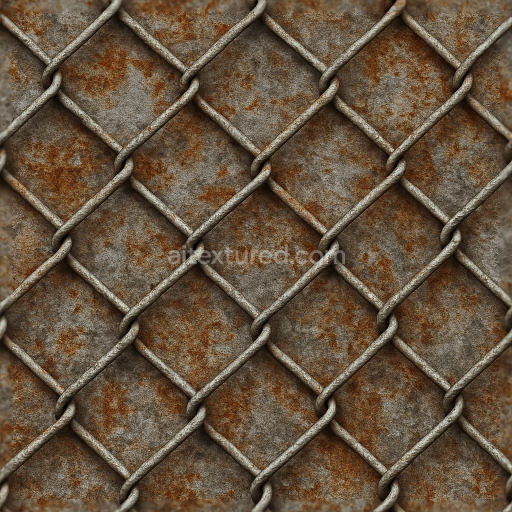
This seamless 3D texture presents a highly detailed 8K photorealistic representation of a metal gate fence, capturing the intricate interplay of aged and oxidized metal surfaces. The base material is primarily wrought iron or steel, characterized by a durable metallic substrate that has undergone extensive weathering. This weathering manifests as oxidation layers—primarily iron oxides—which form a complex patina with subtle color variations ranging from deep rust reds to muted dark grays and hints of greenish corrosion. The geometric form features interwoven vertical bars and horizontal supports typical of classic metal fences, arranged in a repetitive pattern that emphasizes both structural rigidity and ornamental simplicity. The seamless design ensures the texture tiles flawlessly without visible edges, making it ideal for extensive fence simulations in architectural visualizations or game environments.
The texture’s composition reveals a layered surface finish: the core metallic substrate provides the essential metallic reflectivity, captured in the PBR metallic channel, while the oxidized and aged surface contributes to varied roughness values. These range from smoother, worn-down patches where paint or protective coatings may have eroded, to rough, flaky regions of rust and corrosion. The BaseColor (Albedo) channel conveys these color shifts with high fidelity, showing nuanced pigment deposits from environmental exposure. The Normal and Height maps intricately represent the fine grain and irregular surface topography, including slight dents, rust flakes, and brush marks from previous maintenance or wear. Ambient Occlusion enhances depth perception around joints and intersections of the metal bars, adding realism by simulating shadowed crevices. The roughness map modulates light scattering across the surface, distinguishing between polished metal remnants and heavily oxidized areas with matte appearance.
Designed for compatibility with Blender, Unreal Engine, and Unity, this texture supports advanced rendering workflows and physically based shading models. Its 8K resolution ensures that even close-up views retain crisp detail without pixelation, accommodating high-quality visual effects in both real-time and offline rendering scenarios. When integrating this texture, it is advisable to carefully adjust the UV scale to match the intended fence dimensions, as improper scaling can distort the pattern and reduce realism. Additionally, fine-tuning the roughness channel can help balance reflectivity, achieving the desired contrast between shiny metal remnants and matte corrosion. For enhanced depth perception, blending the height map with normal maps can create convincing parallax effects, especially in close camera angles, adding tactile realism to the metal surface.
Import the texture maps into Blender with sRGB color space for albedo/base color and Non-Color for normal, roughness, metallic, AO, height, and ORM maps. Connect normal maps through a Normal Map node, then adjust UV scale with a Mapping node so the material repeats naturally on your model.
For the full step-by-step setup, see How to Use Seamless Textures in Blender. Browse related material examples in wood, concrete, and metal.
Yes. This texture is designed as a seamless tileable PBR material, so it can repeat across large surfaces without visible borders.
You can download PNG/WEBP versions and use 1K, 2K, 4K and 8K download options when available on the page.
Yes. The download options and engine-mapped ZIP workflow are designed for Blender, Unreal Engine, Unity Standard, URP and HDRP material pipelines.
Yes. The texture is available under the AITextured free commercial license. Review the license page for redistribution and AI-training restrictions.

Build, preview, and export seamless PBR materials. Generate full map sets from a single image, inspect them in a real-time WebGL viewer, and re-package maps for Unreal, Unity, and Blender—directly in your browser.
AI text-to-texture: type a prompt and get a seamless, tileable base image ready for PBR workflows (great starting point for materials).
Create a full PBR set (Normal, Roughness, AO, Metallic, etc.) from a single image. Seamless and tiling-friendly.
Instant WebGL viewer: inspect materials on a sphere, plane, and cube. Check tiling and lighting in real time.
Re-packages maps per engine: Unreal (BaseColor + ORM), Unity (Mask/MetallicSmoothness), Blender (separate channels).
PNG ↔ JPG ↔ SVG: fast convert, SVG rasterize, embed/trace options, quality & background controls.