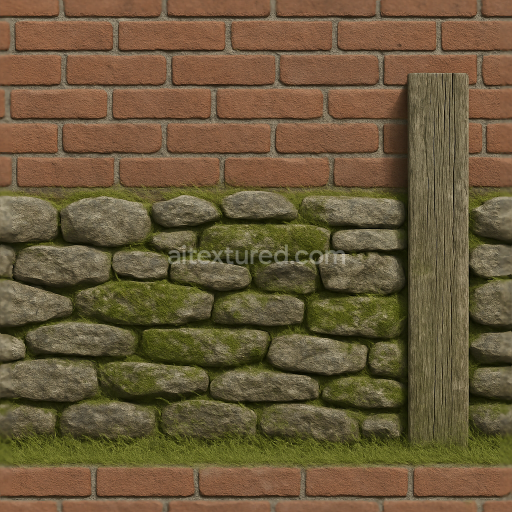
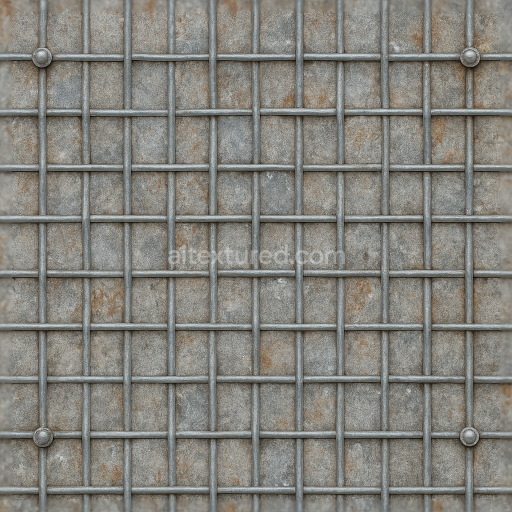
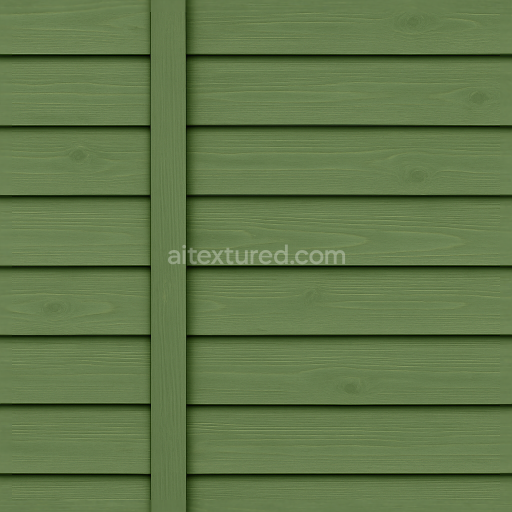
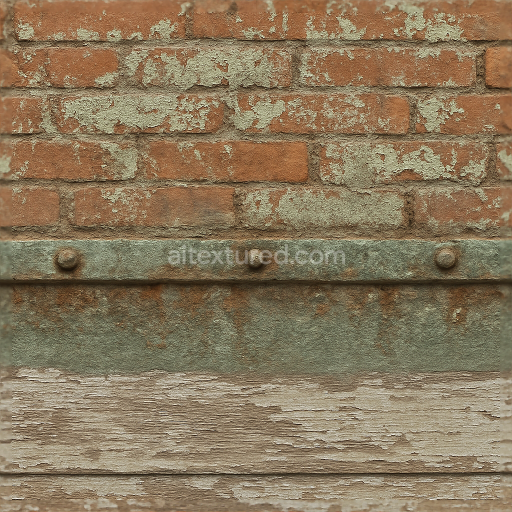
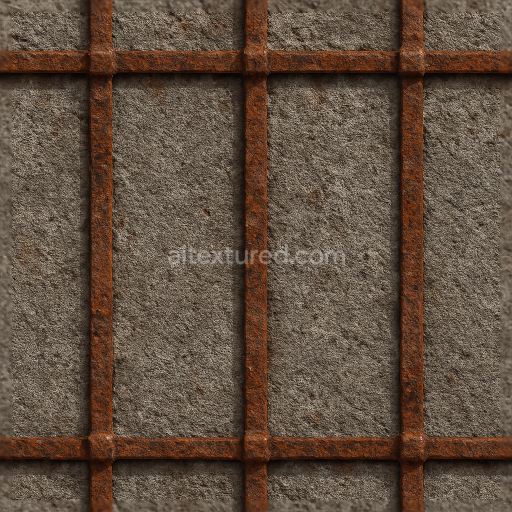
Brick Wall Fence With Dry Stone Wall Elements And Mossy Stone Patches
Seamless texture (tileable) · PNG, WEBP, PBR ZIP. License: AITextured Free Commercial License (FCL) v1.1. Free personal and commercial use. Raw resale, standalone redistribution, mirroring/scraping, competing asset packs, and AI/ML training are not allowed without written permission. Attribution is not required, but appreciated..

| ID | seamless-3d-texture-pbr-8k-lattice-fence-with-painted-wood-and-faded-paint-surface |
|---|---|
| Category | Fences |
| Formats | PNG, WEBP, PBR ZIP |
| Size | 1k (1024x1024px), 2k (2048x2048px), 4k (4096x4096px), 8k (8192x8192px) |
| Color | sRGB |
| Tileable | Yes |
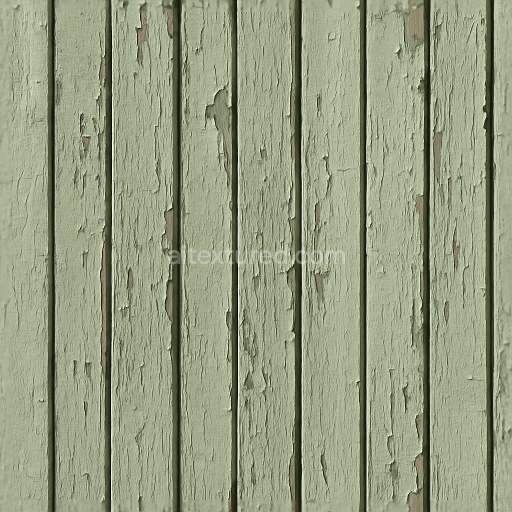
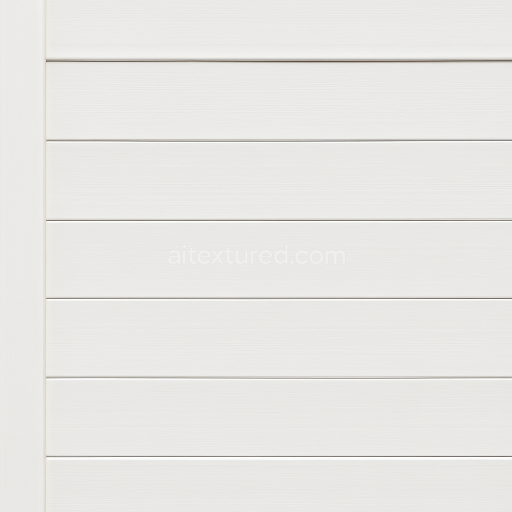
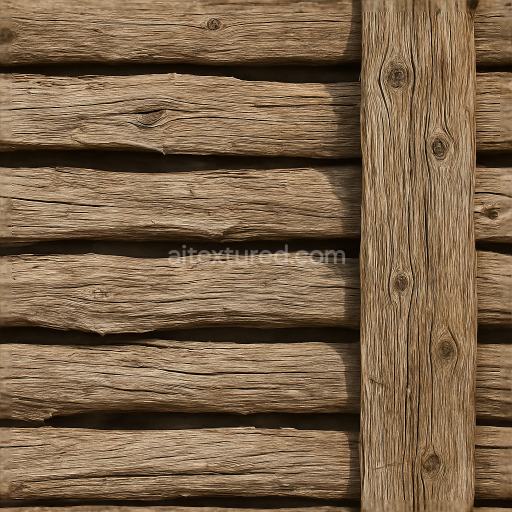
This seamless 8K PBR texture represents a finely detailed lattice fence crafted from painted wood, showcasing a classic crisscross pattern formed by slender, intersecting wooden slats. The base material is natural wood, characterized by its fibrous grain and slight surface irregularities, reflecting typical outdoor aging and weather exposure. The painted surface layer exhibits subtle fading and gentle peeling, revealing underlying wood tones beneath thin, worn paint. This combination of materials and form provides an authentic rustic appearance, capturing the tactile complexity of a garden lattice fence aged by sun, rain, and wind.
The wood substrate displays a moderately porous structure with visible grain patterns and occasional knots, contributing to the tactile roughness and natural variation. The paint layer acts as a semi-opaque binder, likely a weather-resistant acrylic or alkyd-based coating, which has partially worn away due to UV degradation and moisture exposure. Pigments in the paint manifest as muted pastel hues that have softened over time, with color variations mapped precisely in the BaseColor channel. The Normal map encodes the crisp lattice geometry, including fine wood grain and the subtle undulations of chipped paint. Roughness maps highlight the contrast between smoother painted surfaces and exposed, rougher wood, while the Ambient Occlusion channel enhances depth perception in the lattice intersections and recesses.
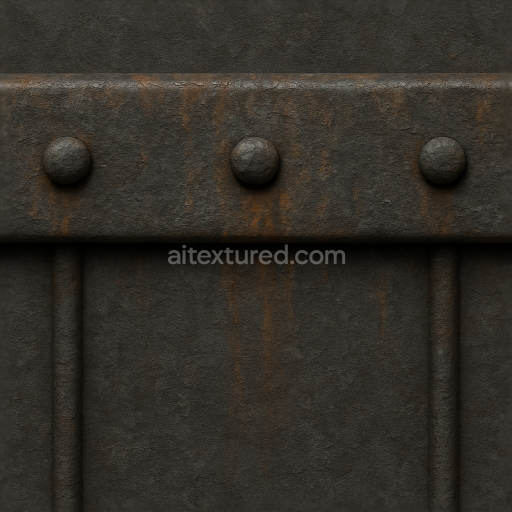
The texture’s Height (Displacement) map captures the low-relief surface topology of the intersecting slats and weathered paint layers, enabling realistic shadowing and micro-geometry effects when used with parallax or tessellation shaders. The Metallic channel is kept minimal or zero, consistent with non-metallic wood and paint materials. This detailed layering and accurate PBR channel setup ensure photorealistic renderings under various lighting conditions in 3D applications. The seamless tile design allows for large-scale surface coverage without visible repetition artifacts, making it suitable for both close-up views and distant fence modeling.
Optimized for use in Blender, Unreal Engine, and Unity, this high-resolution 8K texture supports detailed visual fidelity and efficient shader workflows. For practical application, adjusting UV scale can help maintain the lattice’s proportional appearance relative to the scene, while fine-tuning roughness values allows control over the surface glossiness to simulate varying paint wear. When integrating the texture, blending Height and Normal maps can enhance depth cues and surface realism, particularly in interactive or real-time environments.
Import the texture maps into Blender with sRGB color space for albedo/base color and Non-Color for normal, roughness, metallic, AO, height, and ORM maps. Connect normal maps through a Normal Map node, then adjust UV scale with a Mapping node so the material repeats naturally on your model.
For the full step-by-step setup, see How to Use Seamless Textures in Blender. Browse related material examples in wood, concrete, and metal.
Yes. This texture is designed as a seamless tileable PBR material, so it can repeat across large surfaces without visible borders.
You can download PNG/WEBP versions and use 1K, 2K, 4K and 8K download options when available on the page.
Yes. The download options and engine-mapped ZIP workflow are designed for Blender, Unreal Engine, Unity Standard, URP and HDRP material pipelines.
Yes. The texture is available under the AITextured free commercial license. Review the license page for redistribution and AI-training restrictions.

Build, preview, and export seamless PBR materials. Generate full map sets from a single image, inspect them in a real-time WebGL viewer, and re-package maps for Unreal, Unity, and Blender—directly in your browser.
AI text-to-texture: type a prompt and get a seamless, tileable base image ready for PBR workflows (great starting point for materials).
Create a full PBR set (Normal, Roughness, AO, Metallic, etc.) from a single image. Seamless and tiling-friendly.
Instant WebGL viewer: inspect materials on a sphere, plane, and cube. Check tiling and lighting in real time.
Re-packages maps per engine: Unreal (BaseColor + ORM), Unity (Mask/MetallicSmoothness), Blender (separate channels).
PNG ↔ JPG ↔ SVG: fast convert, SVG rasterize, embed/trace options, quality & background controls.