
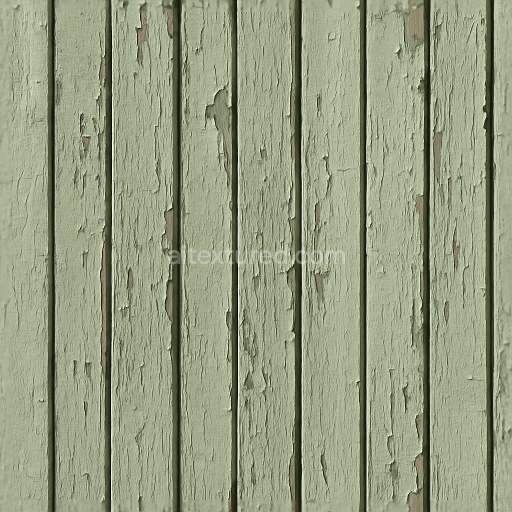
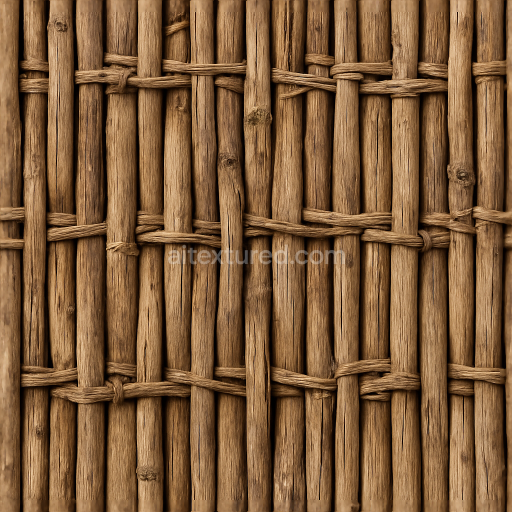
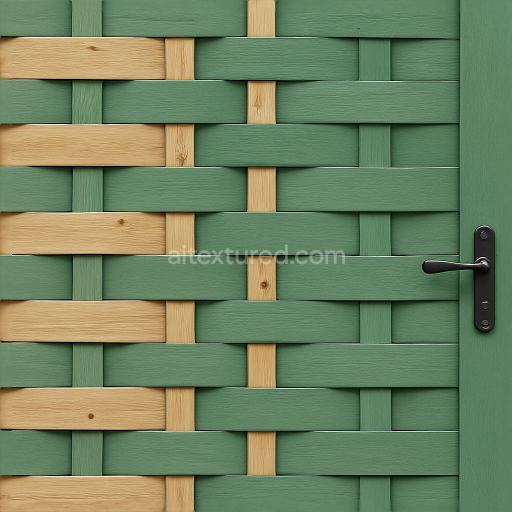
Bamboo Fence With Natural Wood Knots And Smooth Wood Surface
Seamless texture (tileable) · PNG, WEBP, PBR ZIP. License: AITextured Free Commercial License (FCL) v1.1. Free personal and commercial use. Raw resale, standalone redistribution, mirroring/scraping, competing asset packs, and AI/ML training are not allowed without written permission. Attribution is not required, but appreciated..

| ID | seamless-3d-texture-pbr-8k-wooden-fence-with-weathered-wood-and-fence-knots-detail |
|---|---|
| Category | Fences |
| Formats | PNG, WEBP, PBR ZIP |
| Size | 1k (1024x1024px), 2k (2048x2048px), 4k (4096x4096px), 8k (8192x8192px) |
| Color | sRGB |
| Tileable | Yes |
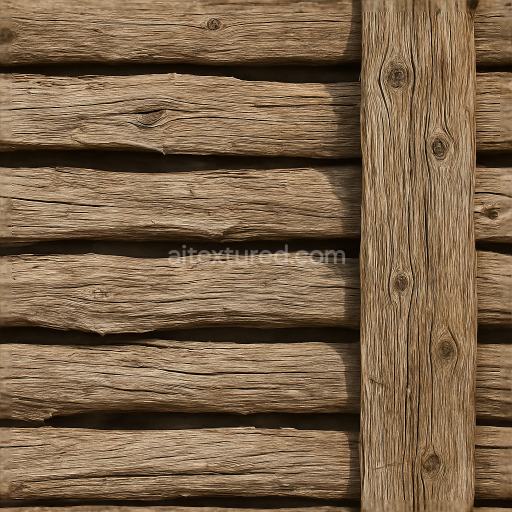
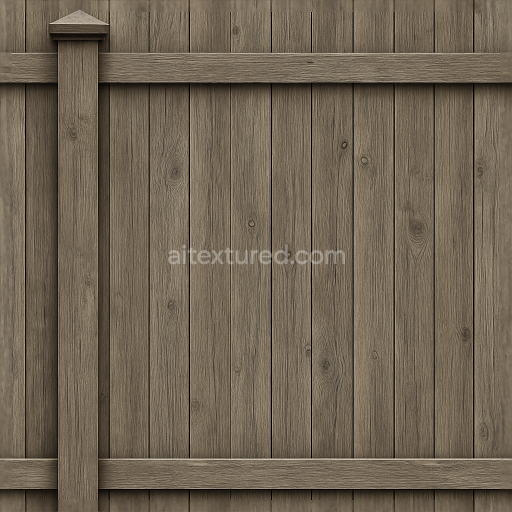
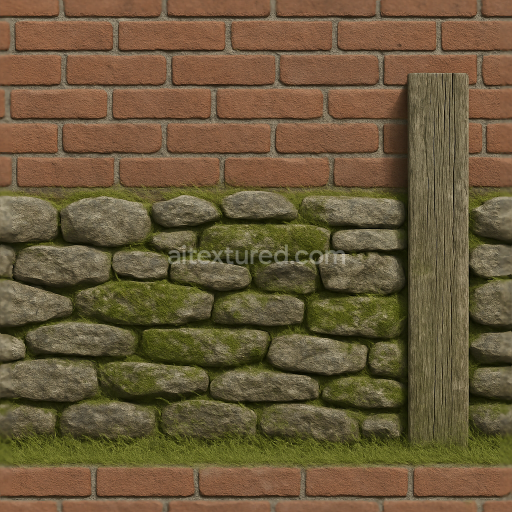
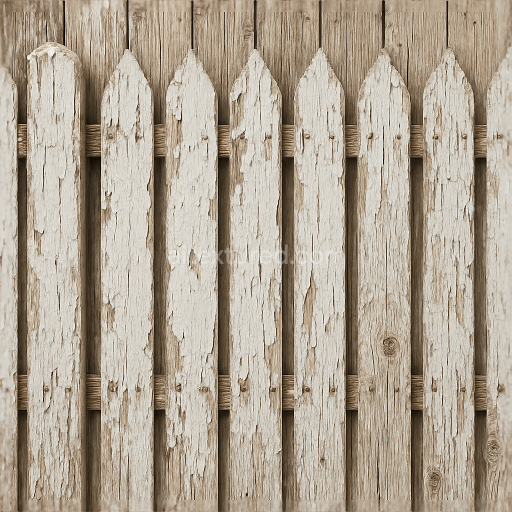
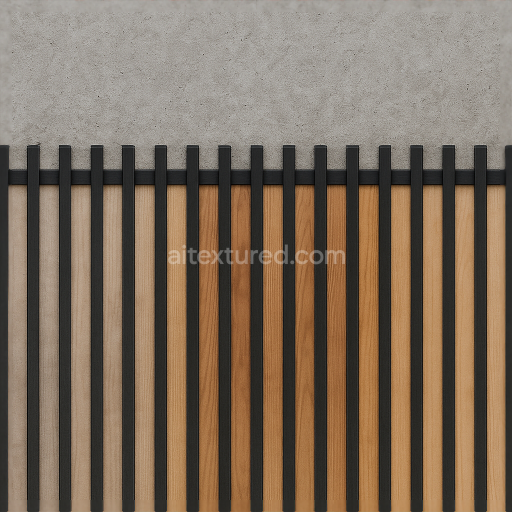
This seamless 3D texture presents an 8K photorealistic wooden fence surface composed of vertically arranged planks, each exhibiting natural variations in grain and weathering. The base material is aged hardwood, characterized by its fibrous structure and visible growth rings. Over time, exposure to outdoor elements has created a rough, porous surface with subtle cracks and surface erosion that accentuate the wood’s organic form. The texture captures fine details such as fence knots—dense, circular grain formations where branches once grew—which add depth and authenticity to the wooden panels. The planks are tightly aligned with minimal gaps, forming a continuous pattern ideal for fencing applications.
In terms of composition, the wood substrate includes cellulose fibers bound within a lignin matrix, giving the material its rigidity and texture. The weathered finish results from natural oxidation and moisture exposure, which subtly modifies the pigment layers and creates a muted, earthy color palette of browns, grays, and hints of faded ochre. Surface imperfections such as small splits, raised grain fibers, and worn edges contribute to the tactile roughness and uneven reflectivity. This complexity is precisely captured in the PBR texture maps: the BaseColor (Albedo) channel shows neutral, desaturated hues with natural shading; the Normal map accentuates the fine wood grain and knot relief; the Roughness map varies across the surface to reflect the combination of matte aged wood and slightly glossy resin deposits; the Metallic channel remains near zero, consistent with organic wood; Ambient Occlusion enhances shadowing around knots and plank edges; and the Height/Displacement map provides subtle depth variations for realistic surface geometry.
This texture is optimized for use in Blender, Unreal Engine, and Unity, offering seamless tiling to maintain visual consistency across large surfaces without noticeable repetition. The 8K resolution ensures that close-up renders retain crisp detail, highlighting every nuance of the weathered wood grain and knot intricacies. When applying the texture, it is recommended to carefully adjust the UV scale to prevent texture stretching and to fine-tune roughness values for the desired balance between matte and slightly glossy areas. Additionally, blending the height map with normal details can enhance the perception of depth, making the wooden fence appear more tactile and realistic under varying lighting conditions.
Import the texture maps into Blender with sRGB color space for albedo/base color and Non-Color for normal, roughness, metallic, AO, height, and ORM maps. Connect normal maps through a Normal Map node, then adjust UV scale with a Mapping node so the material repeats naturally on your model.
For the full step-by-step setup, see How to Use Seamless Textures in Blender. Browse related material examples in wood, concrete, and metal.
Yes. This texture is designed as a seamless tileable PBR material, so it can repeat across large surfaces without visible borders.
You can download PNG/WEBP versions and use 1K, 2K, 4K and 8K download options when available on the page.
Yes. The download options and engine-mapped ZIP workflow are designed for Blender, Unreal Engine, Unity Standard, URP and HDRP material pipelines.
Yes. The texture is available under the AITextured free commercial license. Review the license page for redistribution and AI-training restrictions.
Build, preview, and export seamless PBR materials. Generate full map sets from a single image, inspect them in a real-time WebGL viewer, and re-package maps for Unreal, Unity, and Blender—directly in your browser.
AI text-to-texture: type a prompt and get a seamless, tileable base image ready for PBR workflows (great starting point for materials).
Create a full PBR set (Normal, Roughness, AO, Metallic, etc.) from a single image. Seamless and tiling-friendly.
Instant WebGL viewer: inspect materials on a sphere, plane, and cube. Check tiling and lighting in real time.
Re-packages maps per engine: Unreal (BaseColor + ORM), Unity (Mask/MetallicSmoothness), Blender (separate channels).
PNG ↔ JPG ↔ SVG: fast convert, SVG rasterize, embed/trace options, quality & background controls.