
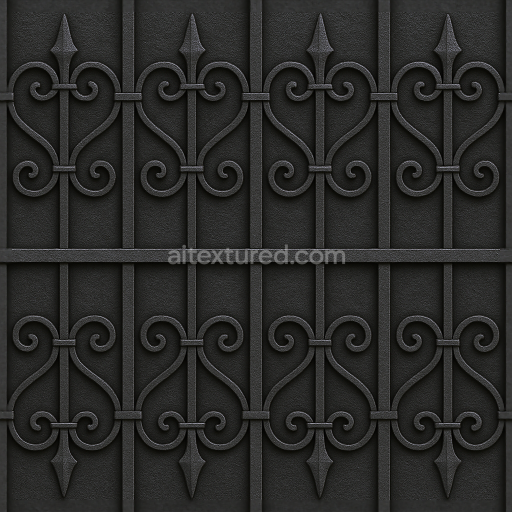
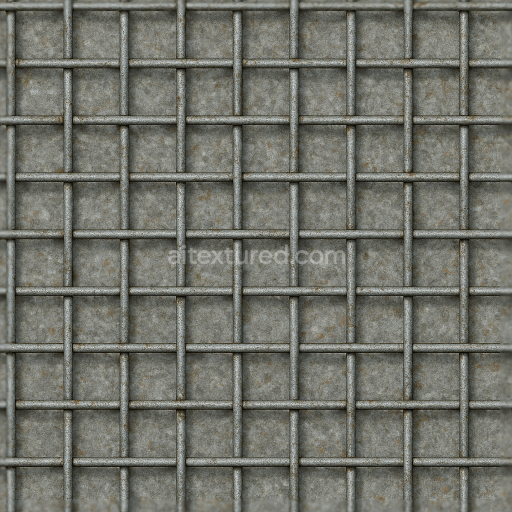
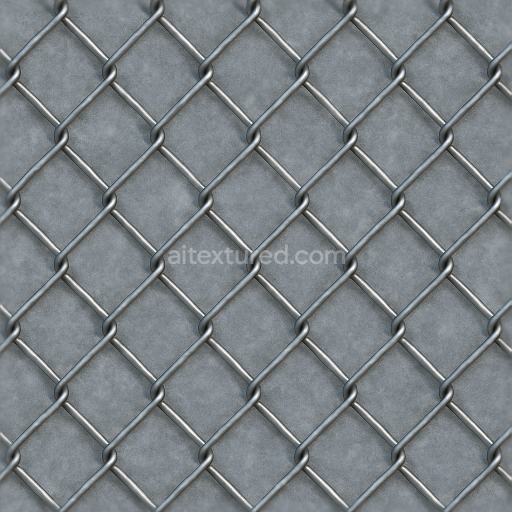
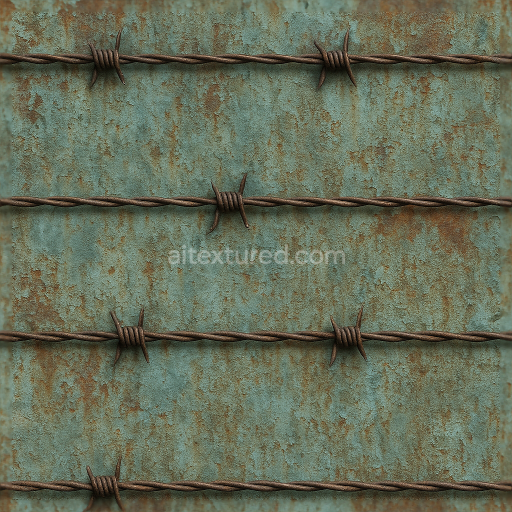
Metal Gate Fence With Aged Metal And Oxidized Metal Surface
Seamless texture (tileable) · PNG, WEBP, PBR ZIP. License: AITextured Free Commercial License (FCL) v1.1. Free personal and commercial use. Raw resale, standalone redistribution, mirroring/scraping, competing asset packs, and AI/ML training are not allowed without written permission. Attribution is not required, but appreciated..

| ID | seamless-8k-3d-texture-pbr-wrought-iron-fence-with-black-iron-spiked-fence-and-decorative-ironwork |
|---|---|
| Category | Fences |
| Formats | PNG, WEBP, PBR ZIP |
| Size | 1k (1024x1024px), 2k (2048x2048px), 4k (4096x4096px), 8k (8192x8192px) |
| Color | sRGB |
| Tileable | Yes |
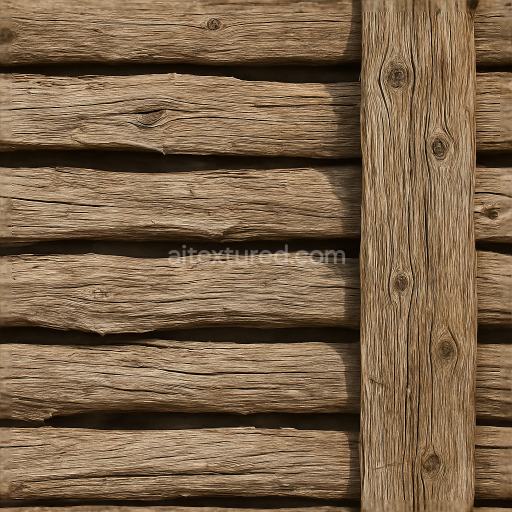
This seamless 8K PBR 3D texture represents a classic wrought iron fence, composed primarily of black iron rods and elaborate decorative ironwork. The base material is forged iron, characterized by a dense, sturdy metallic substrate that forms the main vertical and horizontal bars. These bars are interconnected with metal bolts, creating a rigid geometric pattern of parallel iron bars topped with sharp, pointed spikes. The decorative elements introduce curved and twisted iron motifs, adding complexity and visual interest to the fence’s structure. The form is modular, allowing for seamless tiling with consistent alignment of spikes and ornamental flourishes, ideal for large-scale architectural visualizations.
The wrought iron surface exhibits a rough, oxidized finish typical of weather-exposed metal. This oxidation layer imparts a distinct dark matte black color with subtle variations caused by rust and natural wear, enhancing authenticity. The texture’s porosity is minimal, reflecting the dense metal composition, though micro-abrasions and fine pits simulate years of exposure to the elements. Surface details include brushed patterns from hammering and forging, slight corrosion patches, and accumulated grime around bolts and junctions. These nuanced features are captured across PBR channels: the BaseColor (Albedo) defines the black iron hues with rust accents, the Normal map encodes fine embossing and hammered irregularities, Roughness controls the balance between polished and matte areas, Metallic ensures the reflective characteristics of iron, Ambient Occlusion deepens crevices, and Height/Displacement maps emphasize raised spikes and recessed joints.
Designed for compatibility with Blender, Unreal Engine, and Unity, this texture offers high fidelity and realism at an 8K resolution, making it suitable for close-up renders and real-time applications alike. The seamless tiling functionality ensures continuous surface coverage without visible borders, perfectly replicating extended fence sections. Such precision allows artists to maintain high detail in both cinematic visualizations and interactive environments, preserving the intricate metalwork and weathered patina.
When integrating this texture, consider adjusting the UV scale to maintain correct proportions of the spikes and decorative ironwork relative to the overall scene. Fine-tuning the Roughness map can help simulate varied weathering effects—for instance, lowering roughness slightly on raised spikes to mimic polished wear while keeping the bars more matte. Combining height or parallax mapping with the normal map enhances depth perception on the spikes and embossed decorations, adding a tactile quality to the visual experience without heavy geometry overhead.
Import the texture maps into Blender with sRGB color space for albedo/base color and Non-Color for normal, roughness, metallic, AO, height, and ORM maps. Connect normal maps through a Normal Map node, then adjust UV scale with a Mapping node so the material repeats naturally on your model.
For the full step-by-step setup, see How to Use Seamless Textures in Blender. Browse related material examples in wood, concrete, and metal.
Yes. This texture is designed as a seamless tileable PBR material, so it can repeat across large surfaces without visible borders.
You can download PNG/WEBP versions and use 1K, 2K, 4K and 8K download options when available on the page.
Yes. The download options and engine-mapped ZIP workflow are designed for Blender, Unreal Engine, Unity Standard, URP and HDRP material pipelines.
Yes. The texture is available under the AITextured free commercial license. Review the license page for redistribution and AI-training restrictions.

Build, preview, and export seamless PBR materials. Generate full map sets from a single image, inspect them in a real-time WebGL viewer, and re-package maps for Unreal, Unity, and Blender—directly in your browser.
AI text-to-texture: type a prompt and get a seamless, tileable base image ready for PBR workflows (great starting point for materials).
Create a full PBR set (Normal, Roughness, AO, Metallic, etc.) from a single image. Seamless and tiling-friendly.
Instant WebGL viewer: inspect materials on a sphere, plane, and cube. Check tiling and lighting in real time.
Re-packages maps per engine: Unreal (BaseColor + ORM), Unity (Mask/MetallicSmoothness), Blender (separate channels).
PNG ↔ JPG ↔ SVG: fast convert, SVG rasterize, embed/trace options, quality & background controls.