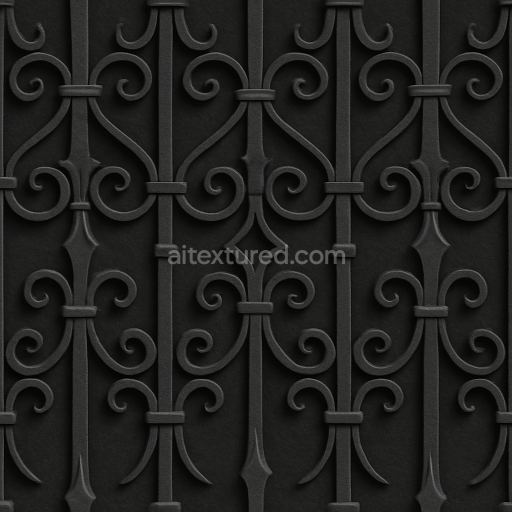
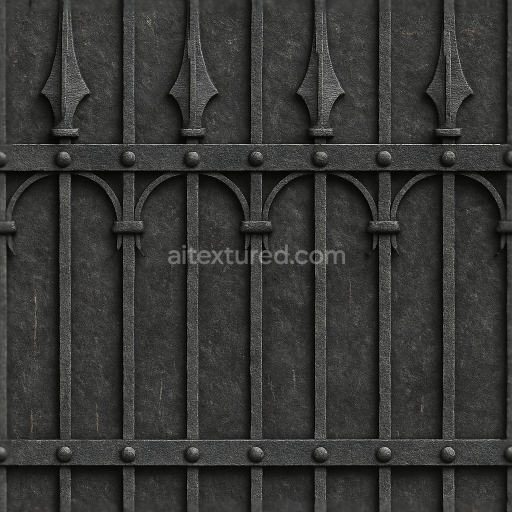
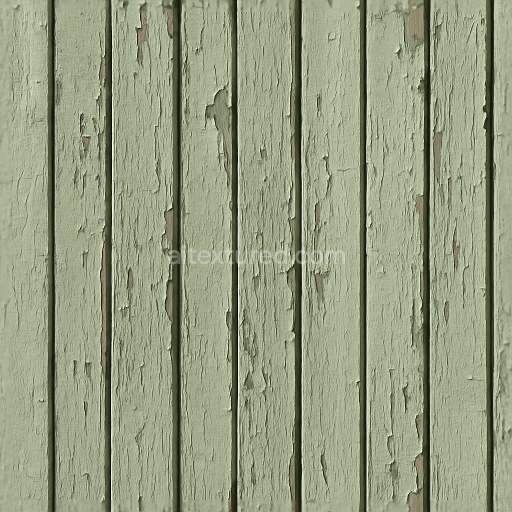
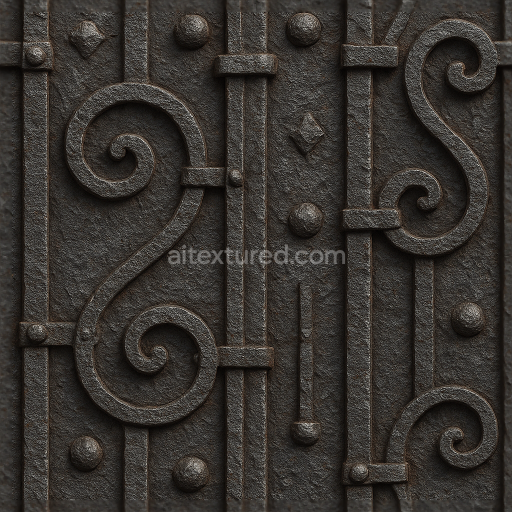
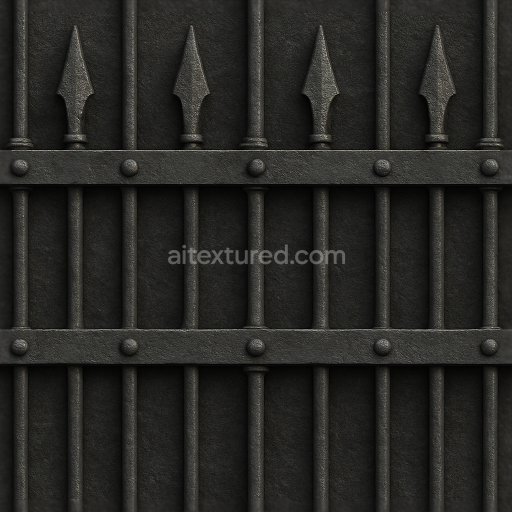
Decorative Iron Fence With Ornate Iron Details And Black Iron Finish
Seamless texture (tileable) · PNG, WEBP, PBR ZIP. License: AITextured Free Commercial License (FCL) v1.1. Free personal and commercial use. Raw resale, standalone redistribution, mirroring/scraping, competing asset packs, and AI/ML training are not allowed without written permission. Attribution is not required, but appreciated..

| ID | seamless-3d-texture-pbr-8k-privacy-fence-with-painted-wood-and-peeling-paint-effect |
|---|---|
| Category | Fences |
| Formats | PNG, WEBP, PBR ZIP |
| Size | 1k (1024x1024px), 2k (2048x2048px), 4k (4096x4096px), 8k (8192x8192px) |
| Color | sRGB |
| Tileable | Yes |
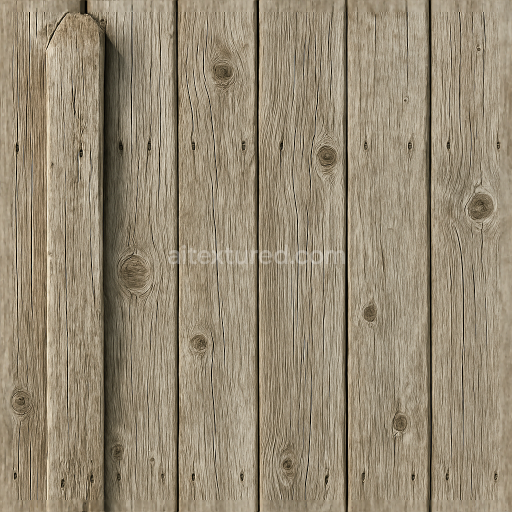
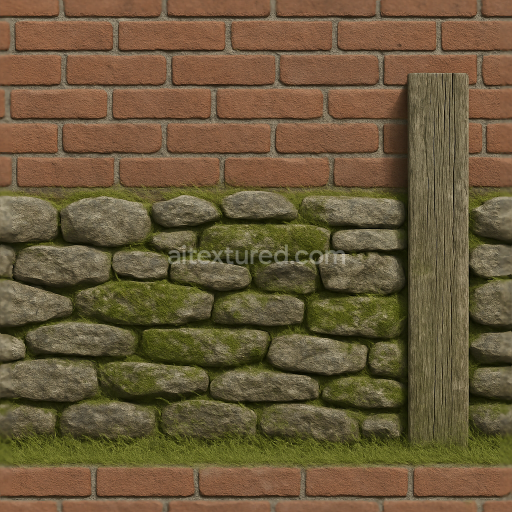
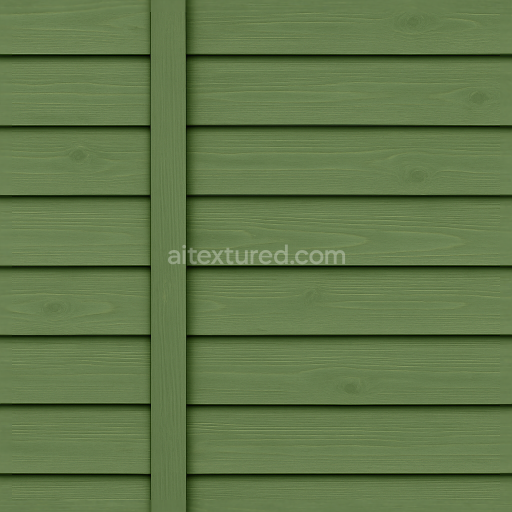
This seamless 3D texture portrays a privacy fence composed of vertically arranged wooden planks, each featuring a painted surface that has undergone significant weathering. The base material is solid wood, likely pine or cedar, known for its fine grain and moderate porosity. The paint layer, originally a matte or satin finish, has deteriorated over time, producing a peeling paint effect where flakes curl and chip away, exposing the natural wood substrate beneath. This layered composition highlights the interplay between the rigid wooden planks and the brittle, cracked paint film, creating a rich, tactile surface with subtle relief and depth.
The painted wood surface is characterized by a combination of pigments embedded in a polymer-based binder, likely an acrylic or oil-based exterior paint, which has faded and cracked due to prolonged exposure to sunlight, moisture, and temperature fluctuations. This aging process reveals the underlying wood grain texture, showcasing fine longitudinal fibers and occasional knots. The texture’s porosity is moderate, with micro-cracks and slight erosion visible on both paint and wood, contributing to a realistic surface roughness and subtle height variation. The paint’s color palette ranges from muted whites and off-whites to faint grays, reflecting natural discoloration and dirt accumulation over time.
In terms of PBR mapping, the BaseColor (Albedo) channel captures the nuanced color transitions between peeling paint and exposed wood, ensuring accurate diffuse reflectance without baked-in lighting. The Normal map conveys the intricate surface geometry, including chipped paint edges, wood grain ridges, and minor surface irregularities, enhancing the perception of depth and material detail. The Roughness map varies spatially to represent the contrast between the smoother paint remnants and the rougher, weathered wood underneath. The Metallic channel remains near zero throughout, as the material is entirely non-metallic. Ambient Occlusion enhances shadowing in crevices and paint flakes, while the Height/Displacement map accurately models the subtle relief of peeling paint layers and wood grain elevation.
Rendered at an exceptional 8K resolution, this texture ensures high fidelity for close-up views and large-scale applications. It is fully optimized for real-time engines like Unreal Engine and Unity, as well as offline rendering in Blender, supporting physically accurate lighting and material responses. For best results, adjusting the UV scale to maintain the natural plank width and length is recommended, along with fine-tuning the roughness to match lighting conditions. Blending the height and normal maps can further enhance the illusion of paint peeling depth without excessive geometry displacement, preserving performance while maximizing visual realism.
Import the texture maps into Blender with sRGB color space for albedo/base color and Non-Color for normal, roughness, metallic, AO, height, and ORM maps. Connect normal maps through a Normal Map node, then adjust UV scale with a Mapping node so the material repeats naturally on your model.
For the full step-by-step setup, see How to Use Seamless Textures in Blender. Browse related material examples in wood, concrete, and metal.
Yes. This texture is designed as a seamless tileable PBR material, so it can repeat across large surfaces without visible borders.
You can download PNG/WEBP versions and use 1K, 2K, 4K and 8K download options when available on the page.
Yes. The download options and engine-mapped ZIP workflow are designed for Blender, Unreal Engine, Unity Standard, URP and HDRP material pipelines.
Yes. The texture is available under the AITextured free commercial license. Review the license page for redistribution and AI-training restrictions.

Build, preview, and export seamless PBR materials. Generate full map sets from a single image, inspect them in a real-time WebGL viewer, and re-package maps for Unreal, Unity, and Blender—directly in your browser.
AI text-to-texture: type a prompt and get a seamless, tileable base image ready for PBR workflows (great starting point for materials).
Create a full PBR set (Normal, Roughness, AO, Metallic, etc.) from a single image. Seamless and tiling-friendly.
Instant WebGL viewer: inspect materials on a sphere, plane, and cube. Check tiling and lighting in real time.
Re-packages maps per engine: Unreal (BaseColor + ORM), Unity (Mask/MetallicSmoothness), Blender (separate channels).
PNG ↔ JPG ↔ SVG: fast convert, SVG rasterize, embed/trace options, quality & background controls.