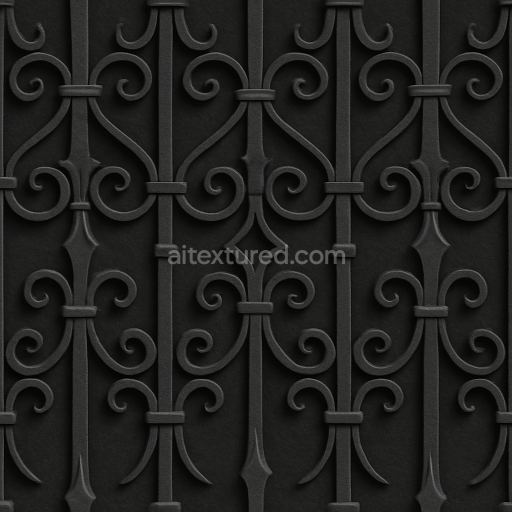
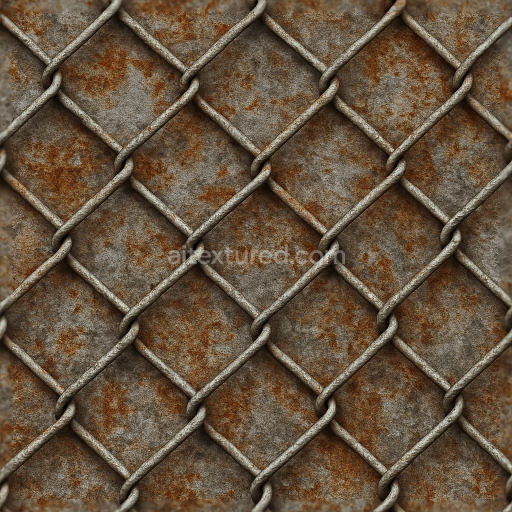
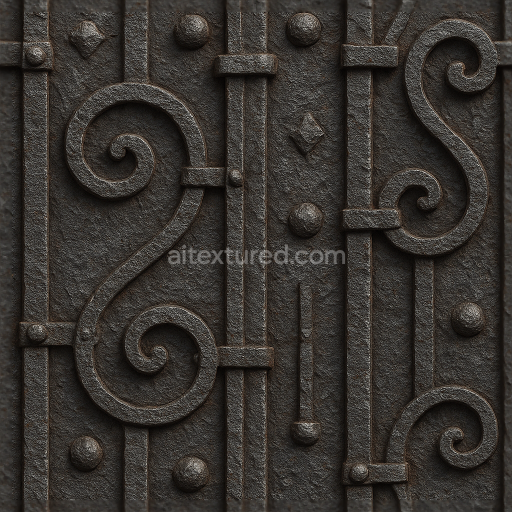
Decorative Iron Fence With Ornate Iron Details And Black Iron Finish
Seamless texture (tileable) · PNG, WEBP, PBR ZIP. License: AITextured Free Commercial License (FCL) v1.1. Free personal and commercial use. Raw resale, standalone redistribution, mirroring/scraping, competing asset packs, and AI/ML training are not allowed without written permission. Attribution is not required, but appreciated..

| ID | seamless-8k-3d-texture-pbr-rough-wood-fence-post-with-knots-and-splinters-in-aged-wood-finish |
|---|---|
| Category | Fences |
| Formats | PNG, WEBP, PBR ZIP |
| Size | 1k (1024x1024px), 2k (2048x2048px), 4k (4096x4096px), 8k (8192x8192px) |
| Color | sRGB |
| Tileable | Yes |
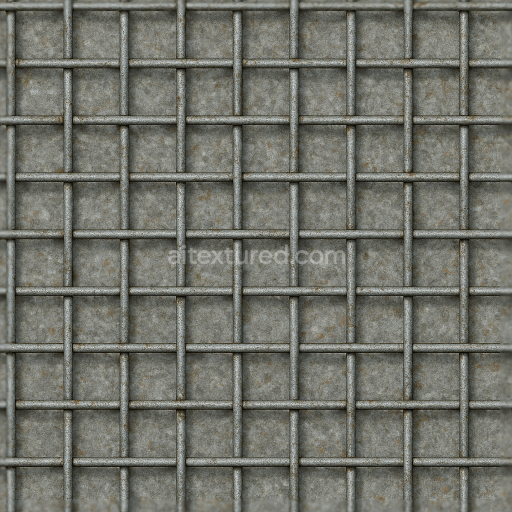
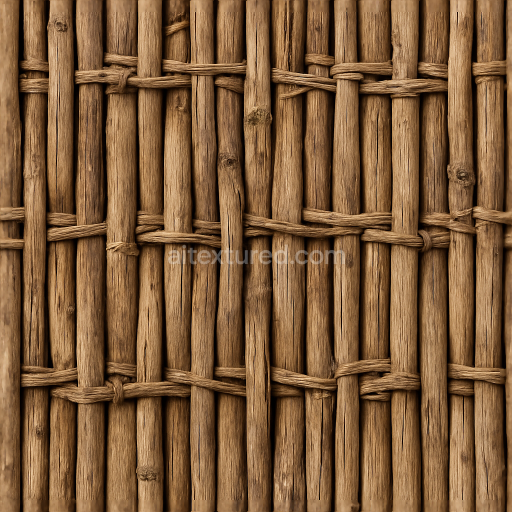
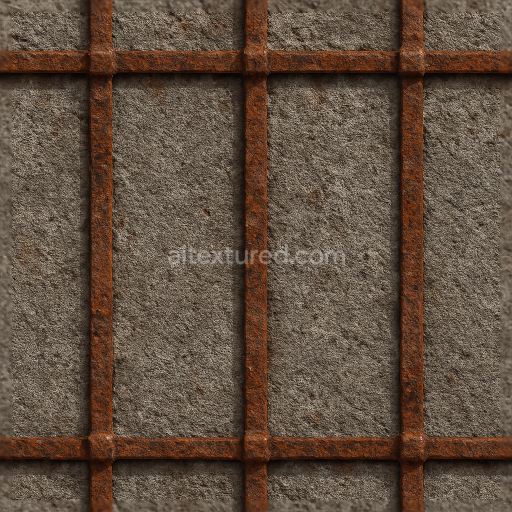
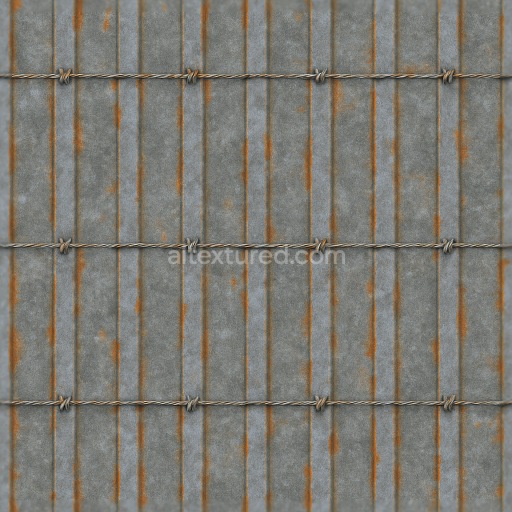
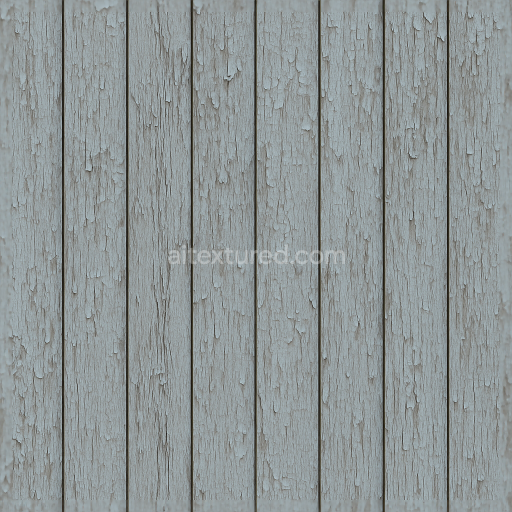
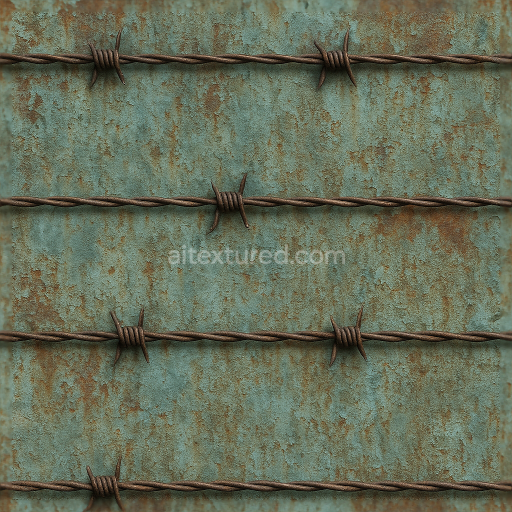
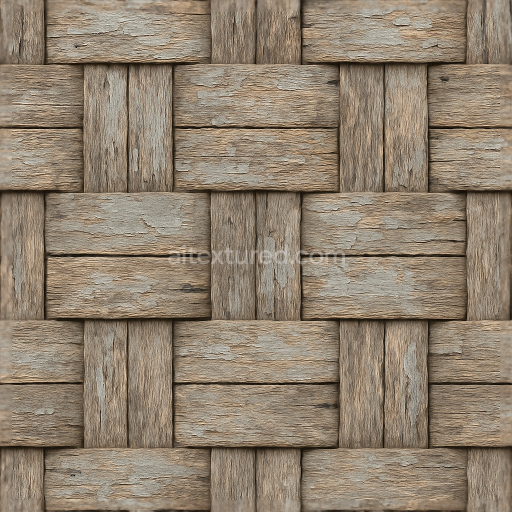
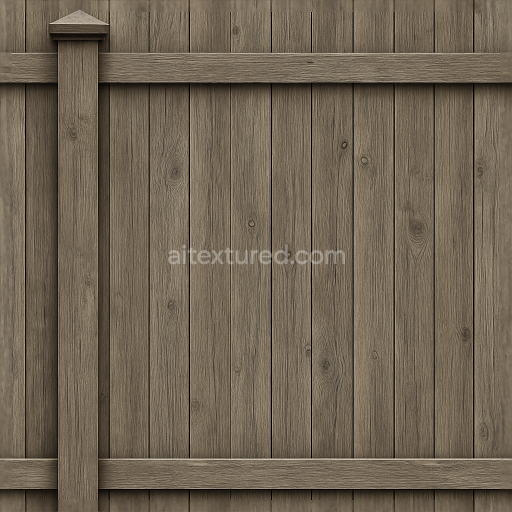
This seamless 8K PBR 3D texture depicts a rough wood fence post characterized by its natural knots, splinters, and an aged wood finish. The base material is weathered hardwood, likely oak or cedar, known for its durability in outdoor environments. The geometric form follows the cylindrical, slightly irregular shape of a traditional fence post, with visible longitudinal grain patterns and occasional radial cracks that emphasize the wood’s fibrous structure. The surface is uneven and coarse, featuring numerous small splinters and worn edges that result from prolonged exposure to sun, rain, and wind. This texture captures the intrinsic porosity and natural decay processes of dry wood, including subtle fissures and discoloration from oxidation and UV damage.
The composition of the wood includes a dense cellulose fiber substrate bonded by lignin, which acts as a natural adhesive holding the fibrous grains together. The texture’s color palette ranges from warm ochres and muted browns to desaturated grays, reflecting the sunlit, weathered appearance of aged wood. Pigmentation is mostly natural, derived from tannins and extractives within the wood, with no artificial coatings, giving a matte, non-reflective finish consistent with outdoor fence posts. The surface finish is rough and unpolished, emphasizing tactile irregularities such as raised grain and splintered edges, which enhance light scattering and shadowing effects in rendering.
In terms of PBR channels, the BaseColor (Albedo) map accurately replicates the nuanced color variations of dry, aged wood, including darker areas around knots and cracks. The Normal map provides detailed relief of the wood grain, splinters, and subtle surface imperfections, adding depth and realism without geometry. The Roughness map is tuned to reflect the coarse, weathered surface, with higher roughness values in areas of exposed, sun-dried wood and slightly lower values near knots where the grain is denser. The Metallic channel remains at zero, as wood is non-metallic. Ambient Occlusion enhances the shading around knots and crevices, emphasizing depth. The Height/Displacement map contributes fine surface detail for parallax and tessellation effects, reinforcing the texture’s tactile quality.
This texture is optimized at an 8K resolution to provide exceptional detail suitable for large-scale 3D projects requiring authentic fence post visuals. It is fully compatible and ready to use in Blender, Unreal Engine, and Unity, ensuring seamless integration into diverse workflows. For practical use, it is recommended to carefully adjust the UV scale to maintain natural proportions and avoid repetition artifacts. Additionally, fine-tuning the roughness channel can help achieve the desired balance between matte and slightly worn areas, while blending height and normal maps enhances perceived surface complexity without heavy geometry.
Import the texture maps into Blender with sRGB color space for albedo/base color and Non-Color for normal, roughness, metallic, AO, height, and ORM maps. Connect normal maps through a Normal Map node, then adjust UV scale with a Mapping node so the material repeats naturally on your model.
For the full step-by-step setup, see How to Use Seamless Textures in Blender. Browse related material examples in wood, concrete, and metal.
Yes. This texture is designed as a seamless tileable PBR material, so it can repeat across large surfaces without visible borders.
You can download PNG/WEBP versions and use 1K, 2K, 4K and 8K download options when available on the page.
Yes. The download options and engine-mapped ZIP workflow are designed for Blender, Unreal Engine, Unity Standard, URP and HDRP material pipelines.
Yes. The texture is available under the AITextured free commercial license. Review the license page for redistribution and AI-training restrictions.


Build, preview, and export seamless PBR materials. Generate full map sets from a single image, inspect them in a real-time WebGL viewer, and re-package maps for Unreal, Unity, and Blender—directly in your browser.
AI text-to-texture: type a prompt and get a seamless, tileable base image ready for PBR workflows (great starting point for materials).
Create a full PBR set (Normal, Roughness, AO, Metallic, etc.) from a single image. Seamless and tiling-friendly.
Instant WebGL viewer: inspect materials on a sphere, plane, and cube. Check tiling and lighting in real time.
Re-packages maps per engine: Unreal (BaseColor + ORM), Unity (Mask/MetallicSmoothness), Blender (separate channels).
PNG ↔ JPG ↔ SVG: fast convert, SVG rasterize, embed/trace options, quality & background controls.