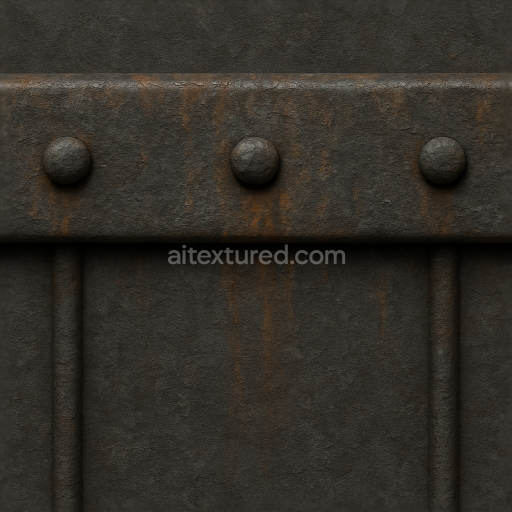
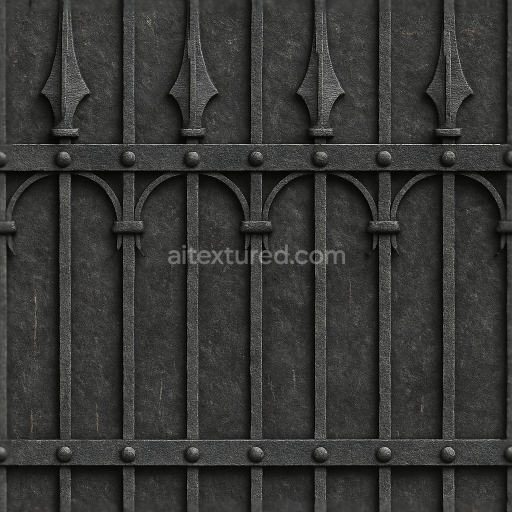
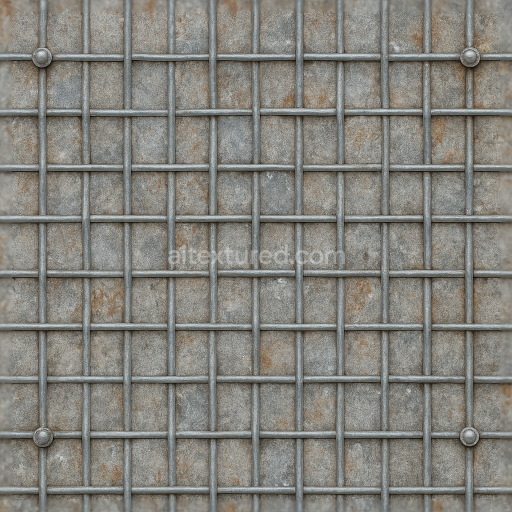
Seamless 8K 3D Texture PBR Rough Metal Fence Rail With Oxidized Metal And Metal Bolts Det…
Seamless texture (tileable) · PNG, WEBP, PBR ZIP. License: AITextured Free Commercial License (FCL) v1.1. Free personal and commercial use. Raw resale, standalone redistribution, mirroring/scraping, competing asset packs, and AI/ML training are not allowed without written permission. Attribution is not required, but appreciated..

| ID | seamless-3d-texture-pbr-8k-barbed-wire-fence-with-oxidized-metal-and-weathered-paint-details |
|---|---|
| Category | Fences |
| Formats | PNG, WEBP, PBR ZIP |
| Size | 1k (1024x1024px), 2k (2048x2048px), 4k (4096x4096px), 8k (8192x8192px) |
| Color | sRGB |
| Tileable | Yes |
This seamless 3D texture depicts a high-resolution 8K photorealistic barbed wire fence, meticulously crafted to showcase oxidized metal and weathered paint details. The base material is predominantly galvanized steel, characterized by its twisted wire geometry forming sharp barbs along evenly spaced horizontal strands. The fence’s substrate exhibits significant surface corrosion, a natural outcome of prolonged exposure to atmospheric elements, resulting in rough, uneven patches of rust and patina. Over this base, remnants of industrial-grade paint cling unevenly, revealing peeling layers and faded pigment that evoke years of environmental wear. The weathering process introduces micro-abrasions and subtle surface porosity, which combine to create a tactile, aged metal finish with a complex interplay of matte and reflective areas.
From a material composition perspective, the metal substrate is coated with anti-corrosive binders initially, now largely degraded, allowing oxidization to penetrate and alter the base color from silvery gray to varied rusty reds and browns. The paint layer, originally a protective polymer pigment, now appears cracked and chipped, exposing the oxidized metal beneath. These variations in surface condition are accurately captured across PBR channels: the BaseColor (Albedo) map reflects the nuanced color shifts between exposed rust and remaining paint, while the Normal map encodes fine wire twists, barb edges, and textured corrosion. Roughness values vary to simulate the contrast between smooth paint remnants and gritty rust patches, and the Metallic map highlights the conductive steel base beneath the weathered surface. Ambient Occlusion enhances shadowed crevices around twisted wire and barbs, and Height/Displacement maps provide subtle depth to wire strands and paint flaking, enhancing realism when parallax or tessellation is employed.
Designed for seamless tiling, this 3D texture integrates flawlessly into large-scale environments, making it ideal for use in Blender, Unreal Engine, and Unity projects that demand authentic industrial or post-apocalyptic aesthetics. The seamless nature ensures no visible repetition or seams, enabling artists to scale the texture across extensive fence models without distortion or noticeable pattern breaks. The 8K resolution guarantees exceptional detail preservation even at close camera views, supporting high-fidelity renders and intricate lighting scenarios.
For optimal results, it is advisable to carefully adjust the UV scale to prevent overly dense repetition of the barbed wire pattern, which could reduce realism. Additionally, fine-tuning the roughness map can help balance the interplay between the matte oxidized metal and the slightly glossier patches of remaining paint. Blending Height or Parallax Occlusion with Normal maps can further enhance the perception of depth on the twisted wire and corroded surfaces, adding convincing dimensionality to the fence in real-time or offline rendering workflows.
Import the texture maps into Blender with sRGB color space for albedo/base color and Non-Color for normal, roughness, metallic, AO, height, and ORM maps. Connect normal maps through a Normal Map node, then adjust UV scale with a Mapping node so the material repeats naturally on your model.
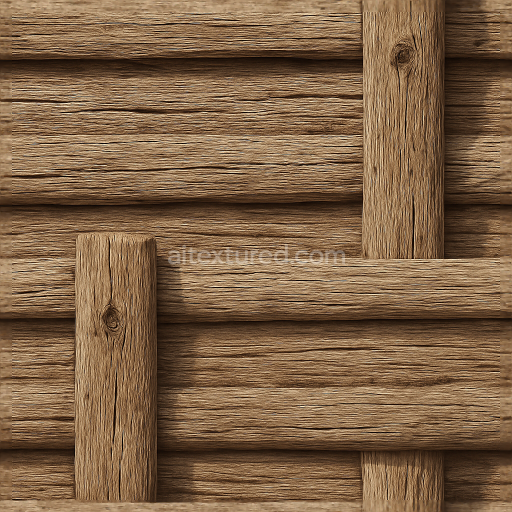
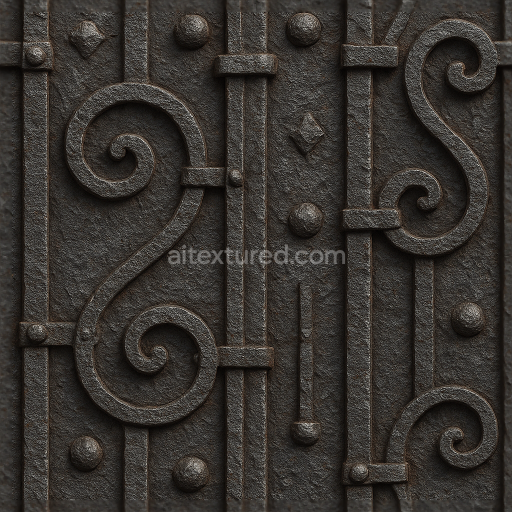
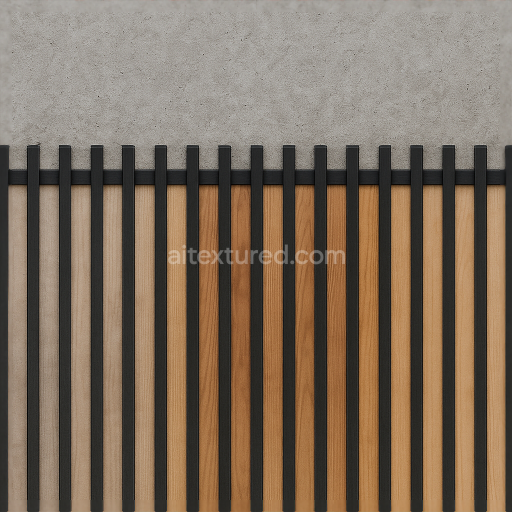
For the full step-by-step setup, see How to Use Seamless Textures in Blender. Browse related material examples in wood, concrete, and metal.
Yes. This texture is designed as a seamless tileable PBR material, so it can repeat across large surfaces without visible borders.
You can download PNG/WEBP versions and use 1K, 2K, 4K and 8K download options when available on the page.
Yes. The download options and engine-mapped ZIP workflow are designed for Blender, Unreal Engine, Unity Standard, URP and HDRP material pipelines.
Yes. The texture is available under the AITextured free commercial license. Review the license page for redistribution and AI-training restrictions.
Build, preview, and export seamless PBR materials. Generate full map sets from a single image, inspect them in a real-time WebGL viewer, and re-package maps for Unreal, Unity, and Blender—directly in your browser.
AI text-to-texture: type a prompt and get a seamless, tileable base image ready for PBR workflows (great starting point for materials).
Create a full PBR set (Normal, Roughness, AO, Metallic, etc.) from a single image. Seamless and tiling-friendly.
Instant WebGL viewer: inspect materials on a sphere, plane, and cube. Check tiling and lighting in real time.
Re-packages maps per engine: Unreal (BaseColor + ORM), Unity (Mask/MetallicSmoothness), Blender (separate channels).
PNG ↔ JPG ↔ SVG: fast convert, SVG rasterize, embed/trace options, quality & background controls.