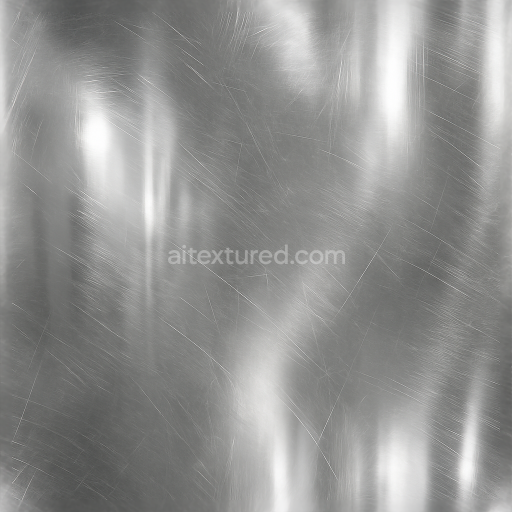
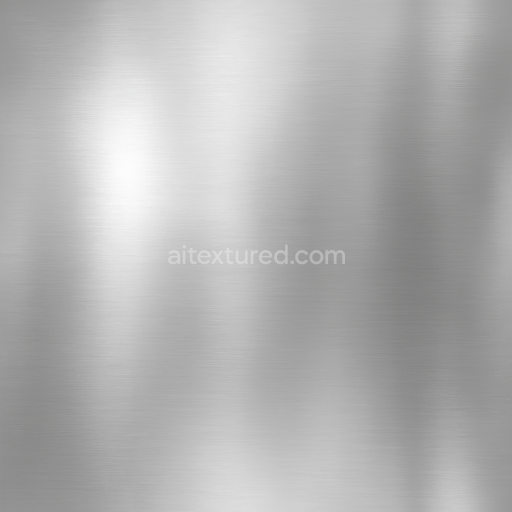
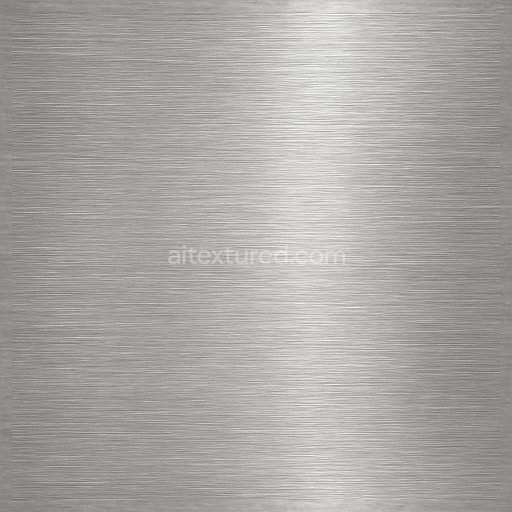
Seamless Shiny Metal 3D Texture PBR 8K Polished Chrome Surface With Metal Reflections And…
Seamless texture (tileable) · PNG, WEBP, PBR ZIP. License: AITextured Free Commercial License (FCL) v1.1. Free personal and commercial use. Raw resale, standalone redistribution, mirroring/scraping, competing asset packs, and AI/ML training are not allowed without written permission. Attribution is not required, but appreciated..

| ID | seamless-shiny-metal-3d-texture-pbr-8k-anodized-titanium-surface-with-metal-coating-and-metal-oxidation |
|---|---|
| Category | Shiny metal |
| Formats | PNG, WEBP, PBR ZIP |
| Size | 1k (1024x1024px), 2k (2048x2048px), 4k (4096x4096px), 8k (8192x8192px) |
| Color | sRGB |
| Tileable | Yes |
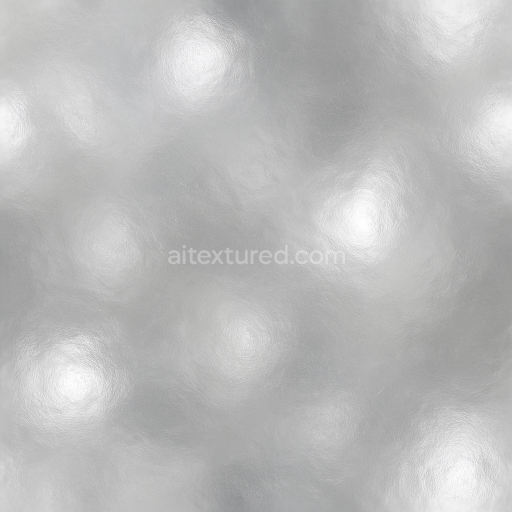
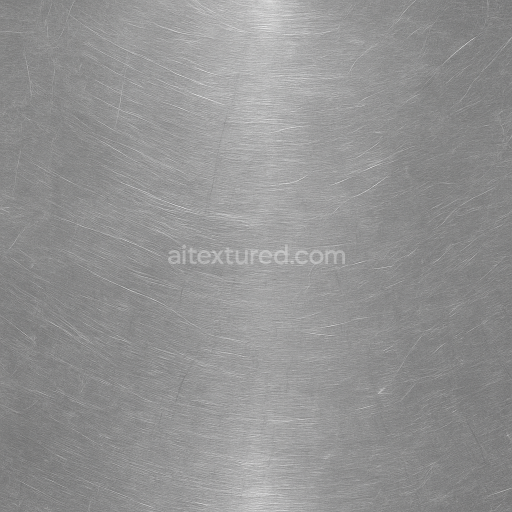
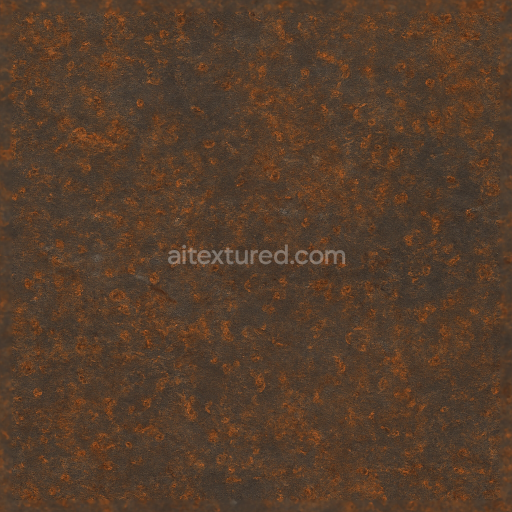
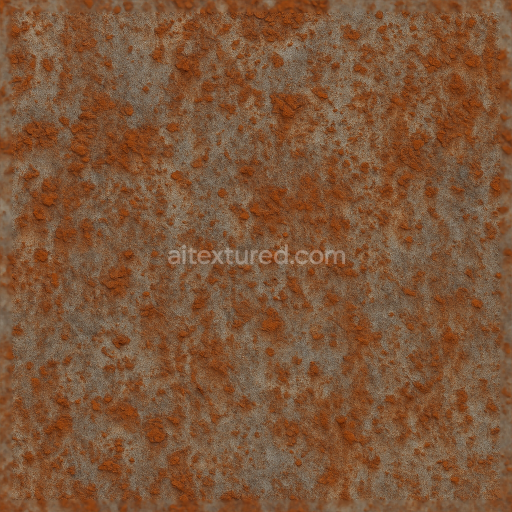
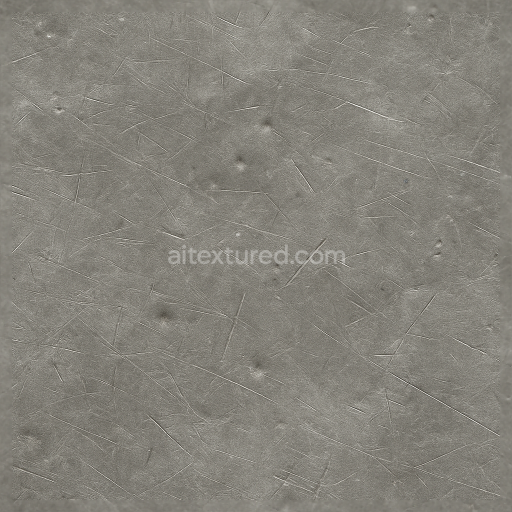
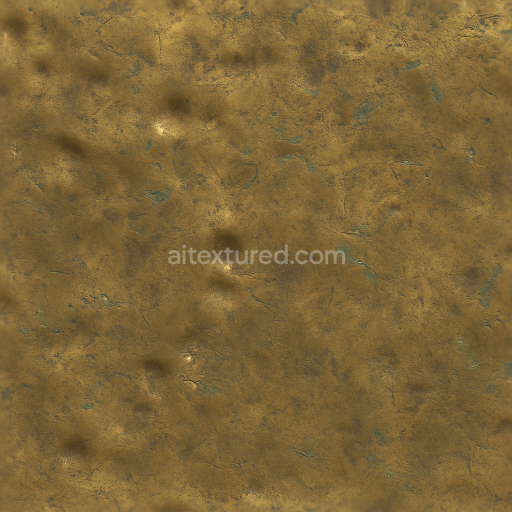
This seamless 8K texture showcases anodized titanium, a metal renowned for its durability and distinctive surface treatments. The base material is high-grade titanium alloy, characterized by a smooth, dense substrate that provides structural integrity and corrosion resistance. The anodizing process forms a protective oxide layer on the titanium surface, creating vibrant, iridescent colors that result from light interference within the microscopic metal oxide layers. This texture captures the intricate metal finishes of anodized titanium, including subtle metal oxidation patterns and layered metal coatings that add depth and realism. The geometric form features a finely grained, almost laminated metal surface with faint linear striations and micro-textured oxidized patches, simulating the natural wear and aging of anodized metal under environmental exposure.
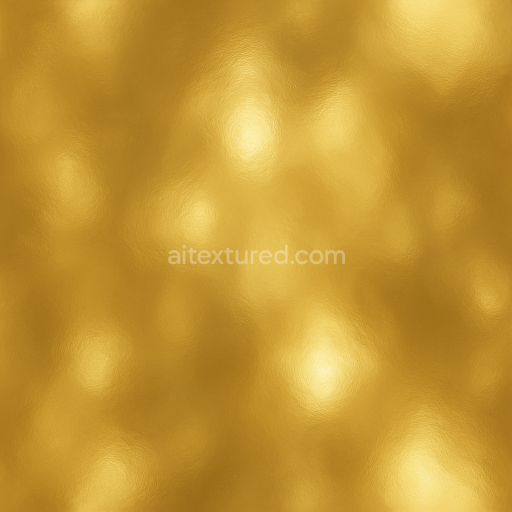
Compositionally, the texture reflects multiple surface layers: the core titanium substrate, a tightly bonded anodic oxide film serving as a natural binder, and thin metal coatings that enhance both aesthetics and protection. The anodic layer has low porosity, offering a smooth yet slightly varied finish that interacts dynamically with light. Colorants in the anodizing process produce a spectrum of metallic hues, from deep blues and purples to subtle golds and silvers, which are faithfully reproduced in the BaseColor (Albedo) channel. The Normal map captures the fine surface imperfections and layered metal grain, while the Roughness channel balances polished shine with areas of soft oxidation, creating realistic specular highlights. The Metallic channel remains high to reflect the inherent metal properties, whereas Ambient Occlusion enhances the perceived depth in crevices and layered coatings. Height and Displacement maps subtly emphasize the anodized ridges and oxidation textures, adding tactile realism in 3D renders.
Designed with physically based rendering workflows in mind, this texture is optimized for compatibility with Blender, Unreal Engine, and Unity, ensuring accurate material representation across platforms. Its 8K resolution allows for close-up inspection without loss of detail, making it ideal for high-fidelity 3D models requiring complex metal surfaces with realistic light response. The seamless tiling ensures continuous coverage over large surfaces without visible repetition or seams, ideal for industrial design visualizations, aerospace components, and medical device renderings.
For practical application, it is recommended to carefully adjust the UV scale to maintain the natural grain size of the anodized metal surface and avoid overly repetitive patterns. Additionally, fine-tuning the Roughness channel can simulate varying degrees of polish or wear, while blending Height and Normal maps enhances the perception of depth on flat geometry, especially when using parallax occlusion techniques. This approach ensures the metal layers and oxidation effects respond convincingly to dynamic lighting and viewing angles, delivering a highly realistic metal shine and surface complexity suitable for advanced PBR workflows.
Import the texture maps into Blender with sRGB color space for albedo/base color and Non-Color for normal, roughness, metallic, AO, height, and ORM maps. Connect normal maps through a Normal Map node, then adjust UV scale with a Mapping node so the material repeats naturally on your model.
For the full step-by-step setup, see How to Use Seamless Textures in Blender. Browse related material examples in wood, concrete, and metal.
Yes. This texture is designed as a seamless tileable PBR material, so it can repeat across large surfaces without visible borders.
You can download PNG/WEBP versions and use 1K, 2K, 4K and 8K download options when available on the page.
Yes. The download options and engine-mapped ZIP workflow are designed for Blender, Unreal Engine, Unity Standard, URP and HDRP material pipelines.
Yes. The texture is available under the AITextured free commercial license. Review the license page for redistribution and AI-training restrictions.

Build, preview, and export seamless PBR materials. Generate full map sets from a single image, inspect them in a real-time WebGL viewer, and re-package maps for Unreal, Unity, and Blender—directly in your browser.
AI text-to-texture: type a prompt and get a seamless, tileable base image ready for PBR workflows (great starting point for materials).
Create a full PBR set (Normal, Roughness, AO, Metallic, etc.) from a single image. Seamless and tiling-friendly.
Instant WebGL viewer: inspect materials on a sphere, plane, and cube. Check tiling and lighting in real time.
Re-packages maps per engine: Unreal (BaseColor + ORM), Unity (Mask/MetallicSmoothness), Blender (separate channels).
PNG ↔ JPG ↔ SVG: fast convert, SVG rasterize, embed/trace options, quality & background controls.