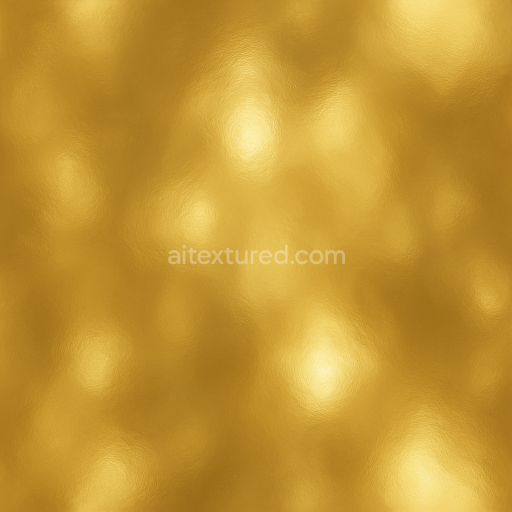
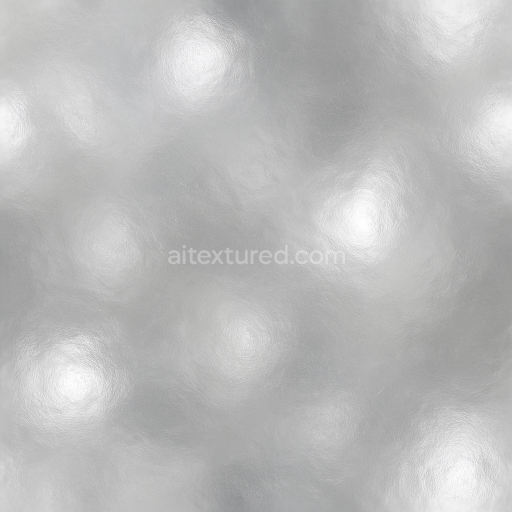
Seamless Shiny Metal 3D Texture PBR 8K Gold Plating With Metal Shine And Metal Reflections
Seamless texture (tileable) · PNG, WEBP, PBR ZIP. License: AITextured Free Commercial License (FCL) v1.1. Free personal and commercial use. Raw resale, standalone redistribution, mirroring/scraping, competing asset packs, and AI/ML training are not allowed without written permission. Attribution is not required, but appreciated..

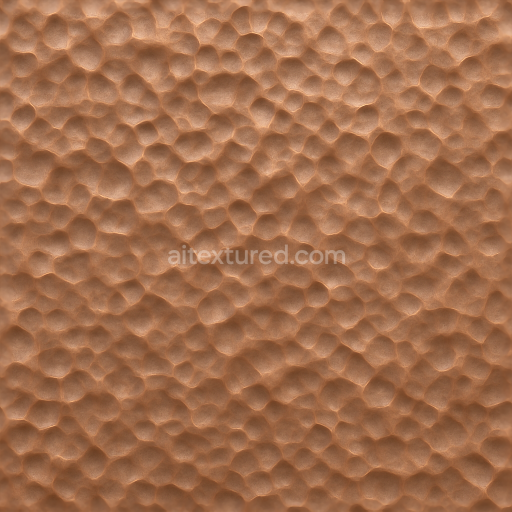
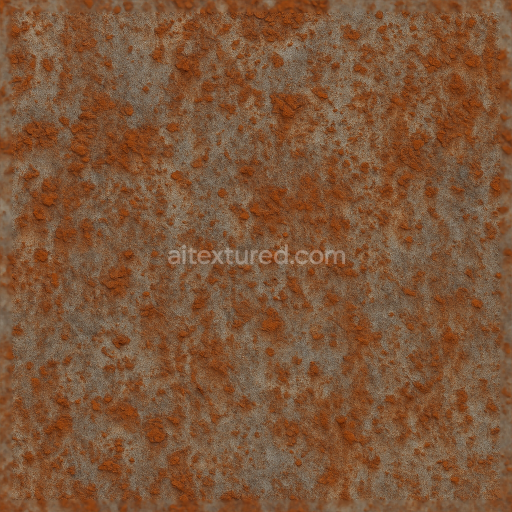
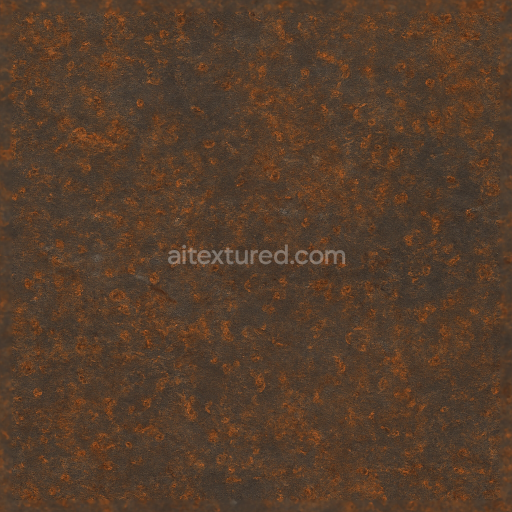
| ID | seamless-shiny-metal-3d-texture-pbr-8k-hammered-copper-with-metal-emboss-and-metal-dents |
|---|---|
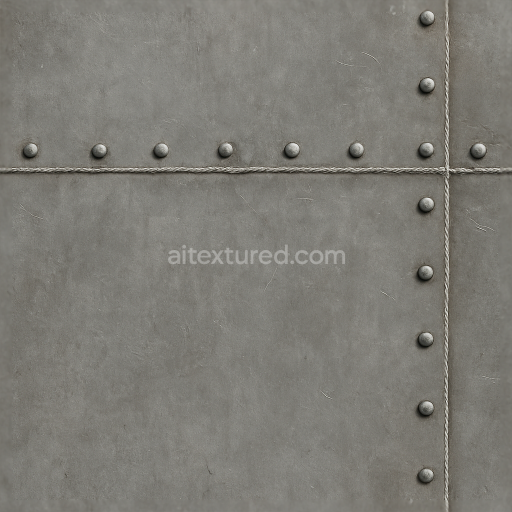
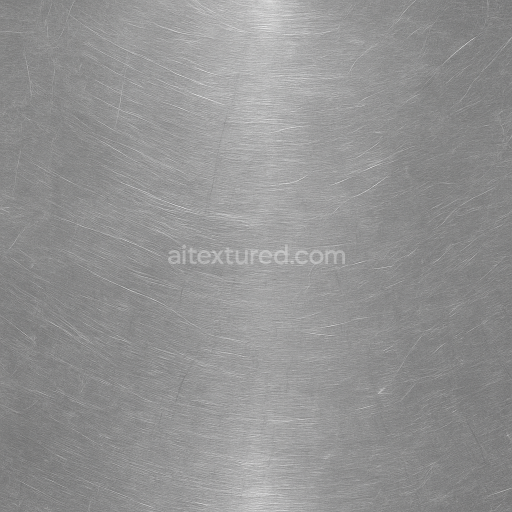
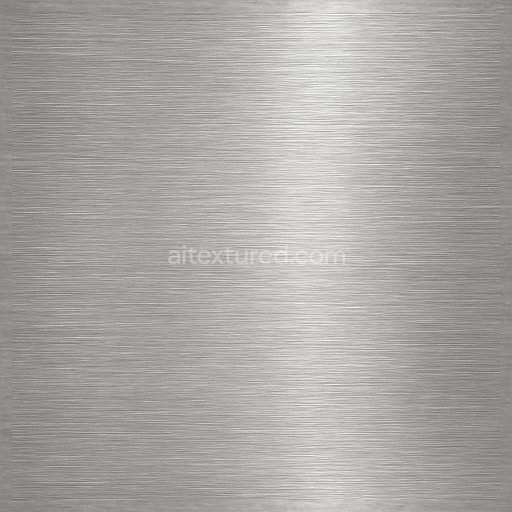
| Category | Shiny metal |
| Formats | PNG, WEBP, PBR ZIP |
| Size | 1k (1024x1024px), 2k (2048x2048px), 4k (4096x4096px), 8k (8192x8192px) |
| Color | sRGB |
| Tileable | Yes |
This seamless shiny metal texture presents a meticulously crafted hammered copper surface, characterized by a complex interplay of metal embossing and subtle dents that bring both depth and tactile realism to the material. At its core, the substrate is pure copper, a malleable metal known for its warm reddish-brown hue and excellent conductivity. The surface exhibits a hammered geometric pattern formed by irregular, shallow indentations that scatter light across the form, creating dynamic metal highlights and reflections. This uneven topography is enhanced by metal emboss details that add raised elements, contributing to a rich three-dimensional effect typical of handcrafted copperwork.
The material composition can be described as solid copper with minimal impurities, where the surface has been mechanically treated to produce the characteristic hammered finish. The texture's surface finish combines a polished base with localized roughness due to the embossed areas and dents, resulting in a varied reflectivity profile. Colorants are inherent to the copper itself, ranging from warm burnt orange to deep amber tones, with subtle oxidation effects that introduce slight variations in color and ambient occlusion depth. The porosity is negligible, as copper is a dense metal, but the hammered indentations create micro-cavities that add to the complexity of shadowing and light diffusion.
In PBR terms, the BaseColor (Albedo) channel carries the authentic copper coloration with natural gradient shifts caused by the embossed and dented features. The Normal map accurately encodes the hammered surface’s geometric irregularities and embossing relief, enhancing the perception of depth without additional geometry. The Roughness map balances polished and matte areas, where embossed and dented regions show higher roughness values, softening reflections, while flatter copper planes maintain metallic shine. The Metallic channel is uniformly high, reflecting copper’s conductive properties, and the Ambient Occlusion map emphasizes shadowing within dents and emboss crevices. Height or Displacement maps provide subtle elevation details to complement the Normal map, enabling realistic parallax and surface deformation.
Rendered at an 8K resolution, this texture delivers exceptional detail and sharpness, ensuring crisp surface features when applied to close-up views in 3D environments. It is fully optimized for integration with Blender, Unreal Engine, and Unity, supporting physically based rendering workflows and seamless material adjustments. For practical use, when applying this texture, it is advisable to carefully tune the roughness channel to balance between exaggerated shine and natural metal wear, and to adjust the UV scale to preserve the hammered pattern’s fidelity on larger surfaces. Combining the height map with normal blending can further enhance the depth perception in real-time engines without heavy geometry.
Import the texture maps into Blender with sRGB color space for albedo/base color and Non-Color for normal, roughness, metallic, AO, height, and ORM maps. Connect normal maps through a Normal Map node, then adjust UV scale with a Mapping node so the material repeats naturally on your model.
For the full step-by-step setup, see How to Use Seamless Textures in Blender. Browse related material examples in wood, concrete, and metal.
Yes. This texture is designed as a seamless tileable PBR material, so it can repeat across large surfaces without visible borders.
You can download PNG/WEBP versions and use 1K, 2K, 4K and 8K download options when available on the page.
Yes. The download options and engine-mapped ZIP workflow are designed for Blender, Unreal Engine, Unity Standard, URP and HDRP material pipelines.
Yes. The texture is available under the AITextured free commercial license. Review the license page for redistribution and AI-training restrictions.


Build, preview, and export seamless PBR materials. Generate full map sets from a single image, inspect them in a real-time WebGL viewer, and re-package maps for Unreal, Unity, and Blender—directly in your browser.
AI text-to-texture: type a prompt and get a seamless, tileable base image ready for PBR workflows (great starting point for materials).
Create a full PBR set (Normal, Roughness, AO, Metallic, etc.) from a single image. Seamless and tiling-friendly.
Instant WebGL viewer: inspect materials on a sphere, plane, and cube. Check tiling and lighting in real time.
Re-packages maps per engine: Unreal (BaseColor + ORM), Unity (Mask/MetallicSmoothness), Blender (separate channels).
PNG ↔ JPG ↔ SVG: fast convert, SVG rasterize, embed/trace options, quality & background controls.