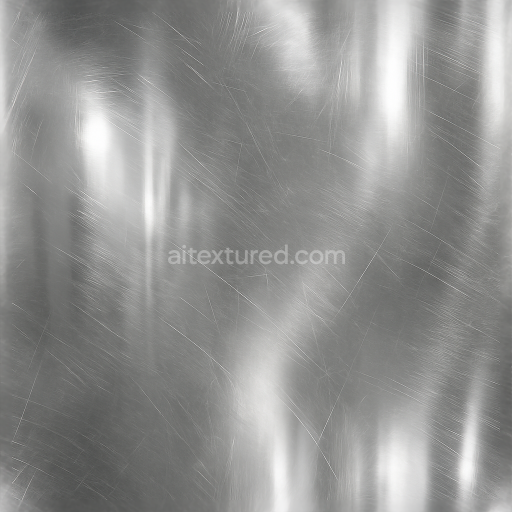
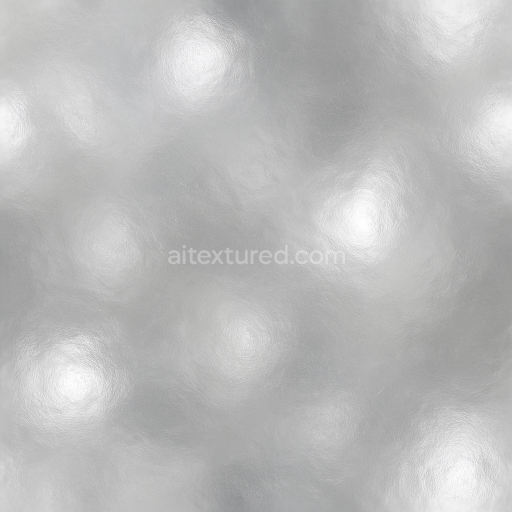
Seamless Shiny Metal 3D Texture PBR 8K Dull Nickel Surface With Metal Oxidation And Metal…
Seamless texture (tileable) · PNG, WEBP, PBR ZIP. License: AITextured Free Commercial License (FCL) v1.1. Free personal and commercial use. Raw resale, standalone redistribution, mirroring/scraping, competing asset packs, and AI/ML training are not allowed without written permission. Attribution is not required, but appreciated..

| ID | seamless-shiny-metal-3d-texture-pbr-8k-gold-plating-with-metal-shine-and-metal-reflections |
|---|---|
| Category | Shiny metal |
| Formats | PNG, WEBP, PBR ZIP |
| Size | 1k (1024x1024px), 2k (2048x2048px), 4k (4096x4096px), 8k (8192x8192px) |
| Color | sRGB |
| Tileable | Yes |
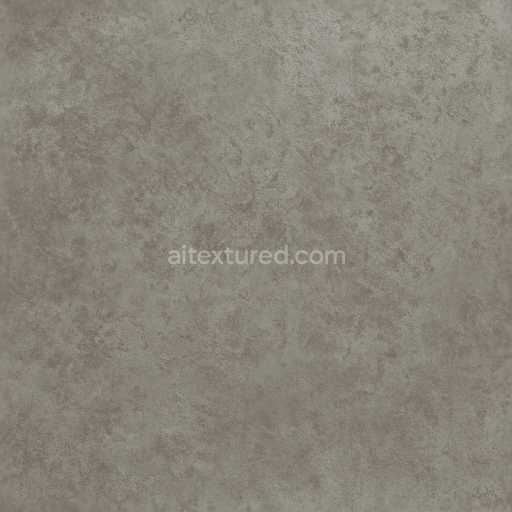
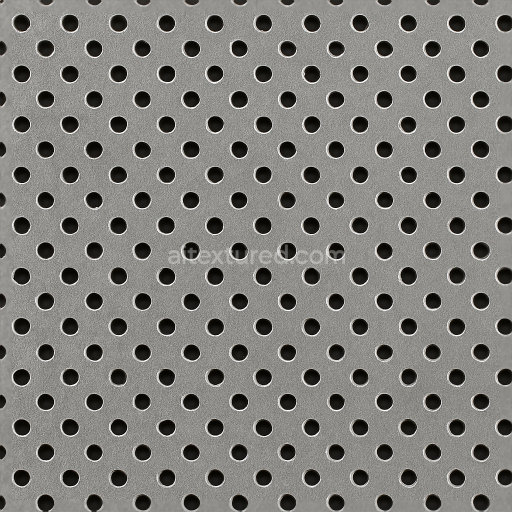
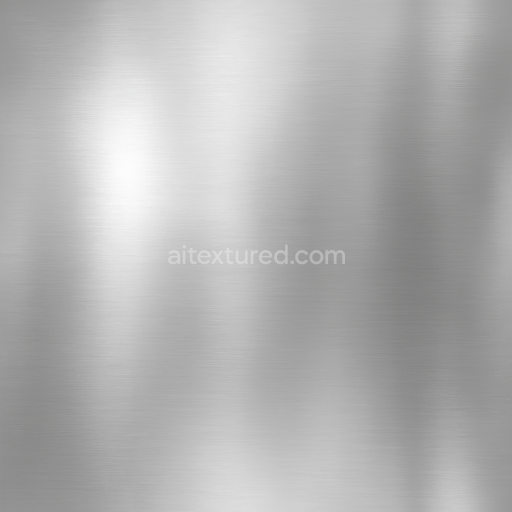
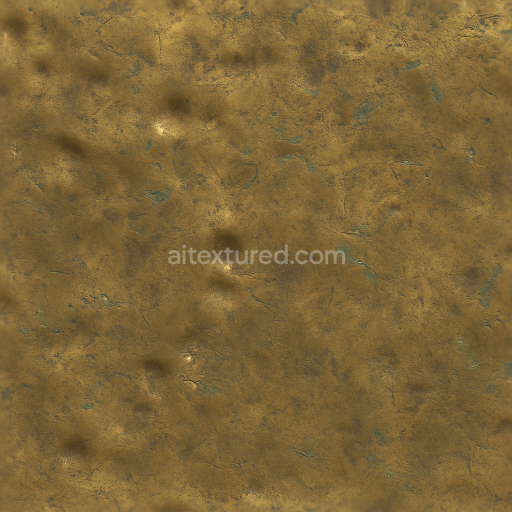
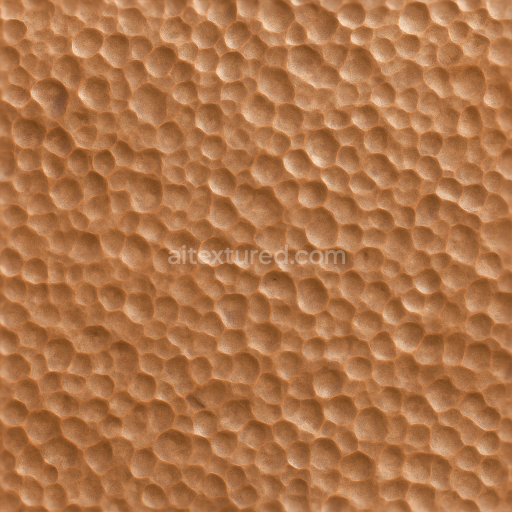
This seamless 8K PBR texture captures the essence of a refined gold plating metal surface characterized by an impeccably smooth and continuous geometric form, resembling a subtly undulating metallic sheet without visible seams or abrupt transitions. The underlying substrate is a high-purity metal alloy, typically brass or copper, which provides a solid foundation for the gold plating. This base metal offers structural integrity and contributes to the overall thermal and reflective properties seen in the surface finish. The gold layer itself is applied through electroplating, forming a thin, uniform coating with a thickness calibrated to achieve optimal reflectivity and durability. The resulting surface exhibits low porosity and excellent adhesion, ensuring minimal weathering or corrosion over time, which is essential for maintaining the pristine metallic gloss and luster.
The texture’s surface finish is highly polished, enhancing its metal shine and reflections with vivid highlights that mimic real-world light interaction. This polished gold plating features subtle micro-variations and fine grain that prevent the appearance from becoming overly flat, contributing to the realistic metal highlights and glossiness. The PBR maps are meticulously designed to replicate these characteristics: the BaseColor (Albedo) channel conveys the rich, warm golden hue with slight tonal shifts to simulate natural color variation; the Normal map introduces fine surface detail and micro-bumps that catch light dynamically; Roughness is kept low but varied to reflect the polished yet slightly imperfect surface; the Metallic map is set to maximum values to represent the fully metallic nature of the surface; Ambient Occlusion enhances the perception of depth and surface curvature; while the Height/Displacement map subtly defines the micro-relief without disrupting the seamless continuity.
Crafted at an 8K resolution, this texture provides exceptional detail and clarity, suitable for high-fidelity rendering workflows in Blender, Unreal Engine, and Unity. Such resolution ensures that close-up views retain sharpness and that the metal’s reflective qualities respond accurately to dynamic lighting environments. The seamless design facilitates easy tiling on complex 3D models, ideal for applications ranging from fine jewelry and decorative elements to premium industrial parts requiring an authentic gold finish. One practical tip for users applying this texture is to carefully adjust the UV scale to balance the gold plating’s grain and micro-surface details, ensuring the metal highlights appear natural without repetitive patterns. Additionally, fine-tuning the roughness map can help achieve the desired level of gloss, while blending height and normal maps can enhance surface depth for parallax effects without compromising performance.
Import the texture maps into Blender with sRGB color space for albedo/base color and Non-Color for normal, roughness, metallic, AO, height, and ORM maps. Connect normal maps through a Normal Map node, then adjust UV scale with a Mapping node so the material repeats naturally on your model.
For the full step-by-step setup, see How to Use Seamless Textures in Blender. Browse related material examples in wood, concrete, and metal.
Yes. This texture is designed as a seamless tileable PBR material, so it can repeat across large surfaces without visible borders.
You can download PNG/WEBP versions and use 1K, 2K, 4K and 8K download options when available on the page.
Yes. The download options and engine-mapped ZIP workflow are designed for Blender, Unreal Engine, Unity Standard, URP and HDRP material pipelines.
Yes. The texture is available under the AITextured free commercial license. Review the license page for redistribution and AI-training restrictions.


Build, preview, and export seamless PBR materials. Generate full map sets from a single image, inspect them in a real-time WebGL viewer, and re-package maps for Unreal, Unity, and Blender—directly in your browser.
AI text-to-texture: type a prompt and get a seamless, tileable base image ready for PBR workflows (great starting point for materials).
Create a full PBR set (Normal, Roughness, AO, Metallic, etc.) from a single image. Seamless and tiling-friendly.
Instant WebGL viewer: inspect materials on a sphere, plane, and cube. Check tiling and lighting in real time.
Re-packages maps per engine: Unreal (BaseColor + ORM), Unity (Mask/MetallicSmoothness), Blender (separate channels).
PNG ↔ JPG ↔ SVG: fast convert, SVG rasterize, embed/trace options, quality & background controls.