Seamless Shiny Metal 3D Texture PBR 8K Oxidized Steel Surface With Metal Oxidation And Me…
Seamless texture (tileable) · PNG, WEBP, PBR ZIP. License: AITextured Free Commercial License (FCL) v1.1. Free personal and commercial use. Raw resale, standalone redistribution, mirroring/scraping, competing asset packs, and AI/ML training are not allowed without written permission. Attribution is not required, but appreciated..

| ID | seamless-shiny-metal-3d-texture-pbr-8k-industrial-metal-surface-with-metal-welds-and-metal-bolts |
|---|---|
| Category | Shiny metal |
| Formats | PNG, WEBP, PBR ZIP |
| Size | 1k (1024x1024px), 2k (2048x2048px), 4k (4096x4096px), 8k (8192x8192px) |
| Color | sRGB |
| Tileable | Yes |
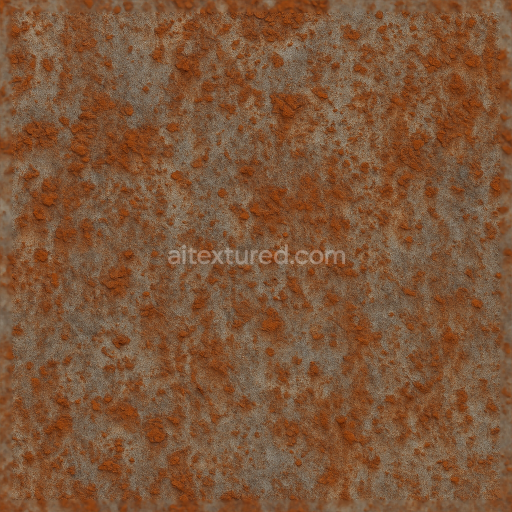
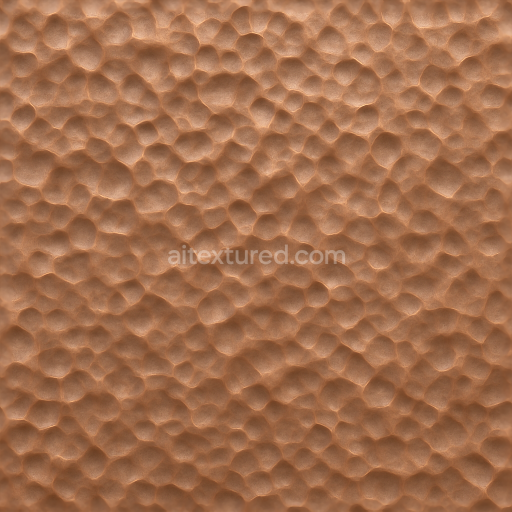
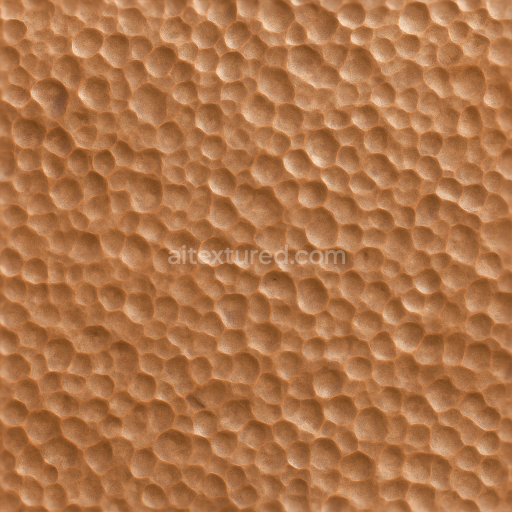
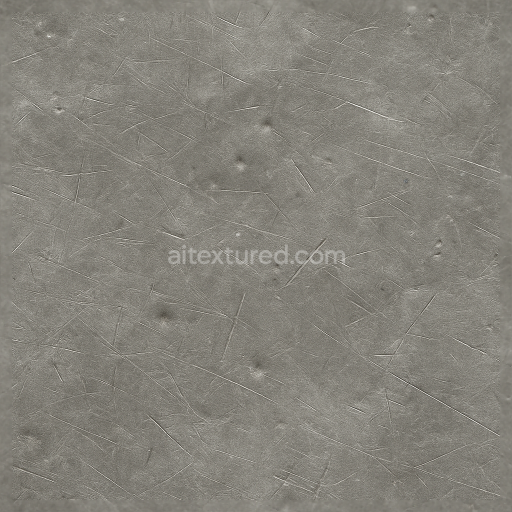
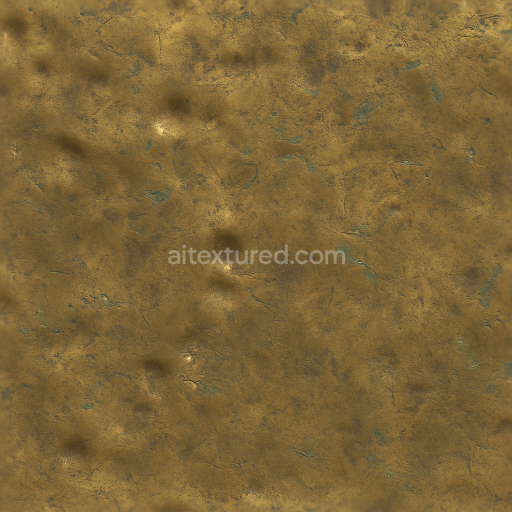
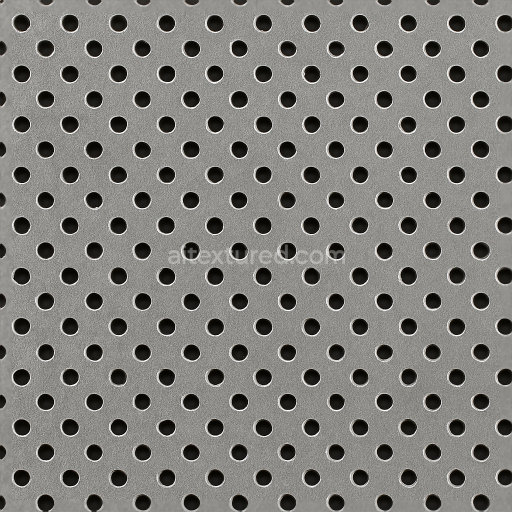
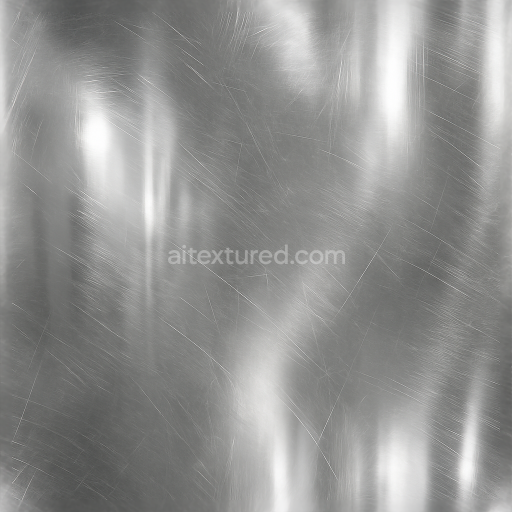
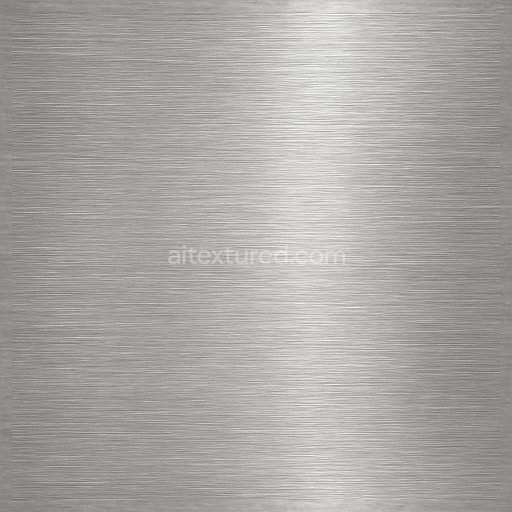
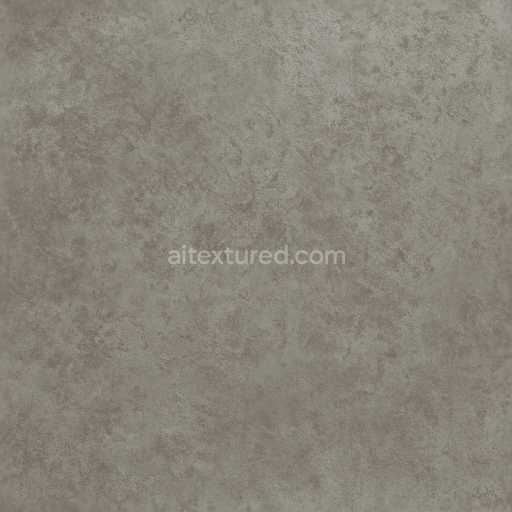
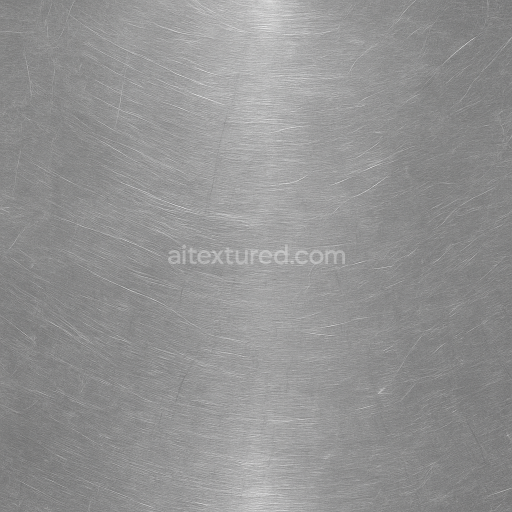
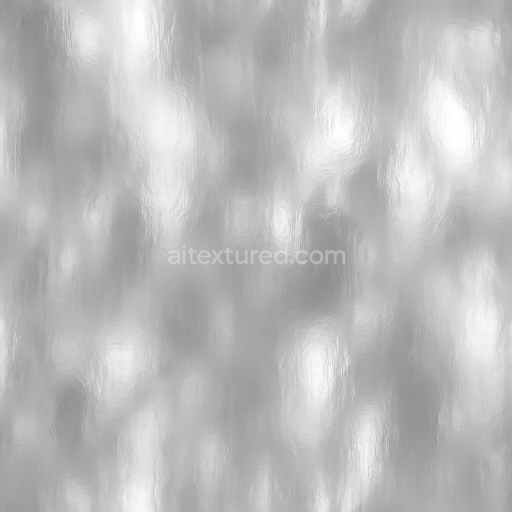
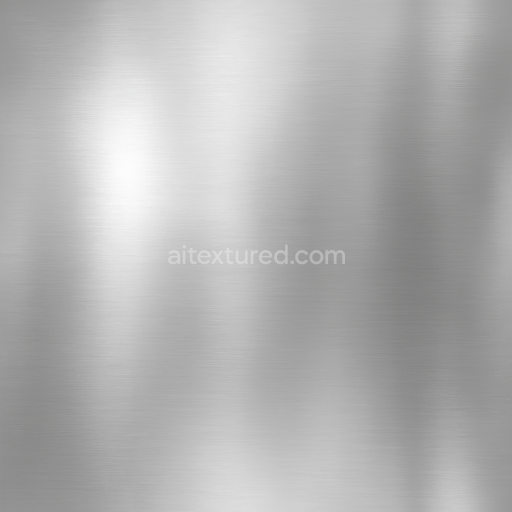
This seamless shiny metal 3D texture is crafted to represent industrial metal surfaces with a high degree of realism. The base material is primarily a dense steel alloy, characterized by its durable, corrosion-resistant properties ideal for heavy machinery and factory equipment. The geometric form follows a layered plating pattern, where overlapping metal sheets are joined by visible metal welds and fastened with sturdy metal bolts. The weld seams display subtle variations in height and roughness, reflecting the thermal effects and material deformation typical of industrial fabrication processes. The surface finish combines polished and brushed metal areas, creating a dynamic interplay between reflective highlights and diffused light scattering. The color palette ranges from cool silvery grays to slightly oxidized bluish tints, indicative of mild weathering and exposure to industrial environments.
The texture’s composition can be broken down into a solid metallic substrate, with weld material acting as a fusion binder between plates. The metal bolts serve as mechanical fasteners, adding dimensional details and interrupting the planar metal surfaces. Fine surface irregularities such as micro-scratches, subtle pitting, and faint oxidation spots contribute to a realistic portrayal of weathered metal. Porosity is minimal but present in weld areas, where microscopic pores and slight roughness capture the imperfect nature of the fusion process. The PBR workflow channels are carefully mapped to reflect these material characteristics: the BaseColor (Albedo) map captures the subtle color shifts and metal finish variations; the Normal map encodes weld bead geometry and bolt heads; the Roughness map differentiates between polished plate surfaces and matte weld seams; the Metallic channel confirms the fully metallic nature of all components; Ambient Occlusion adds depth around seams and bolts, while Height/Displacement enhances the tactile sense of weld ridges and bolt contours.
Rendered at an 8K resolution, this texture provides exceptional detail and sharpness, enabling it to hold up even in close-up views. It is fully compatible with Blender, Unreal Engine, and Unity, ensuring seamless integration into diverse 3D workflows. For optimal results, users are advised to carefully adjust the UV scale to maintain the realistic size of weld beads and bolts relative to the 3D model. Fine-tuning the roughness map can help balance reflectivity, especially in scenes with variable lighting conditions. Additionally, blending height and normal maps can enhance the perception of depth in weld seams without overly increasing geometric complexity, preserving performance while improving visual fidelity.
Import the texture maps into Blender with sRGB color space for albedo/base color and Non-Color for normal, roughness, metallic, AO, height, and ORM maps. Connect normal maps through a Normal Map node, then adjust UV scale with a Mapping node so the material repeats naturally on your model.
For the full step-by-step setup, see How to Use Seamless Textures in Blender. Browse related material examples in wood, concrete, and metal.
Yes. This texture is designed as a seamless tileable PBR material, so it can repeat across large surfaces without visible borders.
You can download PNG/WEBP versions and use 1K, 2K, 4K and 8K download options when available on the page.
Yes. The download options and engine-mapped ZIP workflow are designed for Blender, Unreal Engine, Unity Standard, URP and HDRP material pipelines.
Yes. The texture is available under the AITextured free commercial license. Review the license page for redistribution and AI-training restrictions.


Build, preview, and export seamless PBR materials. Generate full map sets from a single image, inspect them in a real-time WebGL viewer, and re-package maps for Unreal, Unity, and Blender—directly in your browser.
AI text-to-texture: type a prompt and get a seamless, tileable base image ready for PBR workflows (great starting point for materials).
Create a full PBR set (Normal, Roughness, AO, Metallic, etc.) from a single image. Seamless and tiling-friendly.
Instant WebGL viewer: inspect materials on a sphere, plane, and cube. Check tiling and lighting in real time.
Re-packages maps per engine: Unreal (BaseColor + ORM), Unity (Mask/MetallicSmoothness), Blender (separate channels).
PNG ↔ JPG ↔ SVG: fast convert, SVG rasterize, embed/trace options, quality & background controls.