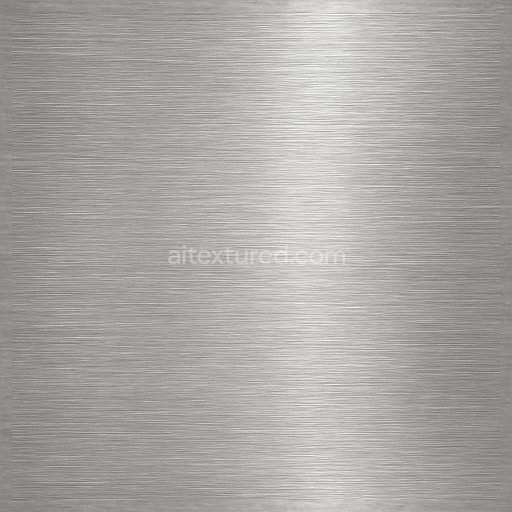
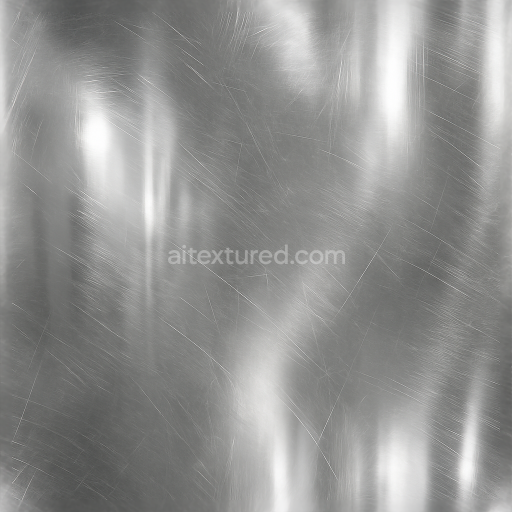
Seamless Shiny Metal 3D Texture PBR 8K Brushed Metal Surface With Metal Grooves And Metal…
Seamless texture (tileable) · PNG, WEBP, PBR ZIP. License: AITextured Free Commercial License (FCL) v1.1. Free personal and commercial use. Raw resale, standalone redistribution, mirroring/scraping, competing asset packs, and AI/ML training are not allowed without written permission. Attribution is not required, but appreciated..

| ID | seamless-shiny-metal-3d-texture-pbr-8k-mirror-finish-with-metal-reflections-and-metal-gloss |
|---|---|
| Category | Shiny metal |
| Formats | PNG, WEBP, PBR ZIP |
| Size | 1k (1024x1024px), 2k (2048x2048px), 4k (4096x4096px), 8k (8192x8192px) |
| Color | sRGB |
| Tileable | Yes |
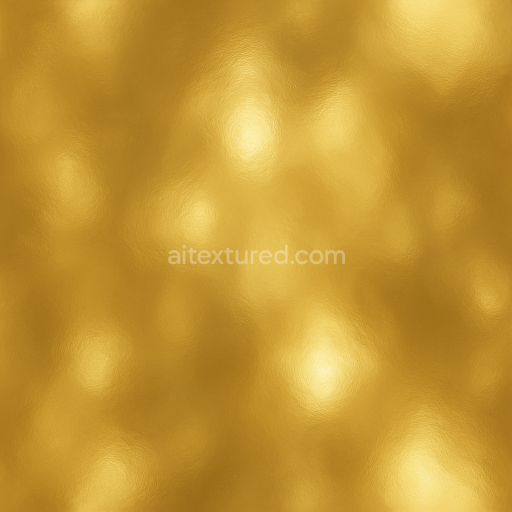
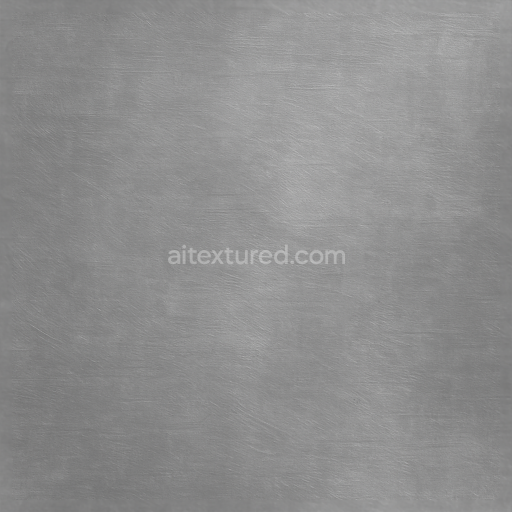
This seamless shiny metal 3D texture showcases a perfectly polished metal surface with a mirror finish, characterized by crisp metal reflections and a pronounced metal gloss. The underlying material closely resembles highly refined stainless steel or chrome, presenting an ultra-smooth substrate that is free of imperfections and surface irregularities. The texture’s geometric form is fundamentally planar and continuous, without visible seams or pattern breaks, which ensures an uninterrupted reflective surface ideal for modern industrial designs or automotive applications. Its flawless metal shine is achieved through a combination of precise surface treatment and advanced PBR shading, capturing the interplay of light on reflective metal coatings with remarkable fidelity.
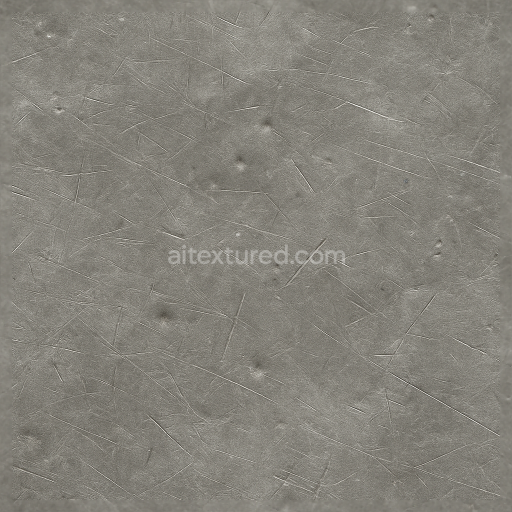
The composition of this texture starts with a dense metal substrate that provides structural integrity and uniform reflectivity. The base metal is modeled with a high metallic value in the PBR Metallic channel, simulating a pure metal surface rather than a painted or composite material. The surface finish is a mirror polish that effectively eliminates porosity, resulting in near-zero roughness values, which are reflected in the Roughness map as smooth, glossy highlights. The BaseColor (Albedo) is a neutral gray with subtle cool undertones, accurately representing untreated stainless steel or chrome without any color tinting or oxidization. Normal and Height maps gently enhance micro-surface details to simulate minimal surface imperfections and subtle curvature, adding depth to the reflections without compromising the seamless glossiness. Ambient Occlusion is delicately balanced to prevent unnatural shadowing and maintain the metal’s luminous quality.
The texture’s high-resolution 8K maps allow for exceptional detail and precision, supporting close-up renders where metal highlights and reflections must appear natural and distortion-free. This makes it fully compatible and optimized for use in popular 3D software such as Blender, Unreal Engine, and Unity, ensuring consistent material behavior across different rendering pipelines. The normal and height maps can be blended to fine-tune surface relief, enhancing realism in both real-time and offline rendering scenarios. The mirror finish excels in environments with dynamic lighting, accurately reflecting surrounding elements and creating compelling metal surfaces for architectural visualizations, automotive renderings, or product design.
When applying this texture, consider adjusting the UV scale carefully to maintain the seamless effect without stretching reflections or gloss patterns. Additionally, fine-tuning the roughness parameter can help achieve a balance between perfect mirror shine and slightly diffused gloss to match specific material references or artistic direction. For enhanced realism, subtle blending of height and normal maps can simulate microscopic surface variations, enriching the visual complexity of metal highlights and coatings under varied lighting conditions.
Import the texture maps into Blender with sRGB color space for albedo/base color and Non-Color for normal, roughness, metallic, AO, height, and ORM maps. Connect normal maps through a Normal Map node, then adjust UV scale with a Mapping node so the material repeats naturally on your model.
For the full step-by-step setup, see How to Use Seamless Textures in Blender. Browse related material examples in wood, concrete, and metal.
Yes. This texture is designed as a seamless tileable PBR material, so it can repeat across large surfaces without visible borders.
You can download PNG/WEBP versions and use 1K, 2K, 4K and 8K download options when available on the page.
Yes. The download options and engine-mapped ZIP workflow are designed for Blender, Unreal Engine, Unity Standard, URP and HDRP material pipelines.
Yes. The texture is available under the AITextured free commercial license. Review the license page for redistribution and AI-training restrictions.


Build, preview, and export seamless PBR materials. Generate full map sets from a single image, inspect them in a real-time WebGL viewer, and re-package maps for Unreal, Unity, and Blender—directly in your browser.
AI text-to-texture: type a prompt and get a seamless, tileable base image ready for PBR workflows (great starting point for materials).
Create a full PBR set (Normal, Roughness, AO, Metallic, etc.) from a single image. Seamless and tiling-friendly.
Instant WebGL viewer: inspect materials on a sphere, plane, and cube. Check tiling and lighting in real time.
Re-packages maps per engine: Unreal (BaseColor + ORM), Unity (Mask/MetallicSmoothness), Blender (separate channels).
PNG ↔ JPG ↔ SVG: fast convert, SVG rasterize, embed/trace options, quality & background controls.