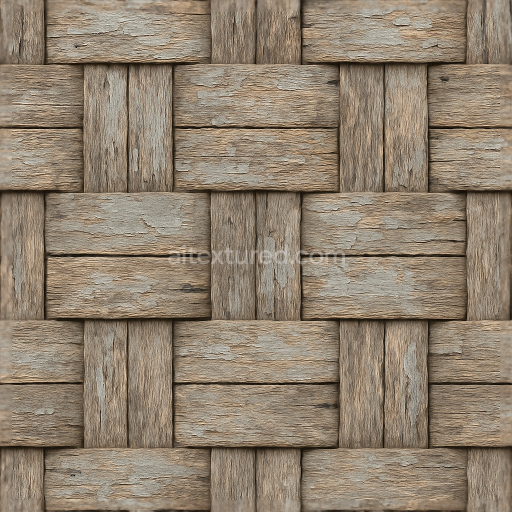
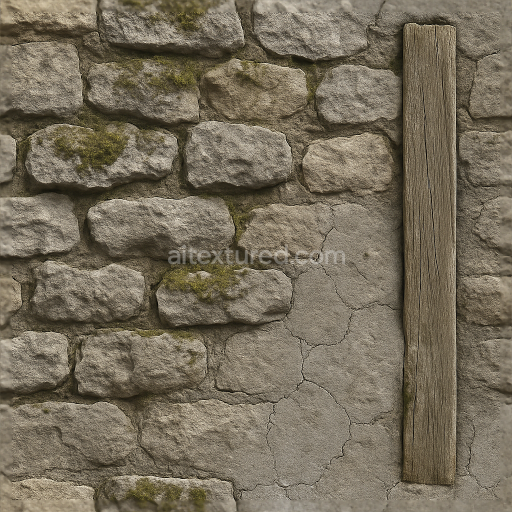
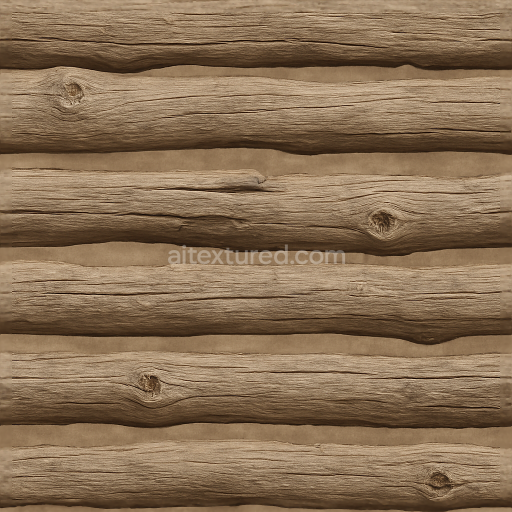
Woven Fence With Rough Wood And Weathered Paint Surfaces
Seamless texture (tileable) · PNG, WEBP, PBR ZIP. License: AITextured Free Commercial License (FCL) v1.1. Free personal and commercial use. Raw resale, standalone redistribution, mirroring/scraping, competing asset packs, and AI/ML training are not allowed without written permission. Attribution is not required, but appreciated..

| ID | seamless-8k-3d-texture-pbr-vinyl-fence-with-brown-fence-paint-and-smooth-wood-grain-horizontal-slats |
|---|---|
| Category | Fences |
| Formats | PNG, WEBP, PBR ZIP |
| Size | 1k (1024x1024px), 2k (2048x2048px), 4k (4096x4096px), 8k (8192x8192px) |
| Color | sRGB |
| Tileable | Yes |
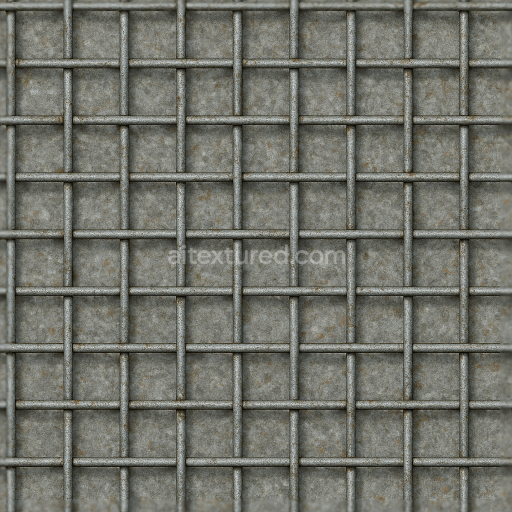
This seamless 8K PBR 3D texture represents a vinyl fence crafted to resemble traditional wooden fencing, featuring horizontal slats with a smooth wood grain pattern painted in a warm brown tone. The base material is high-quality vinyl, chosen for its durability and low maintenance, with a polymer substrate that provides structural integrity. A carefully engineered paint layer simulates the natural wood grain through a combination of fine surface fibers and subtle grooves, delivering an authentic look without actual wood’s porosity. The paint binder is a weather-resistant acrylic enamel, ensuring a consistent matte finish that resists fading and cracking under environmental exposure.
The fence’s geometric form consists of uniformly spaced horizontal slats, each with softly rounded edges and a slight bevel to enhance depth perception. Supporting fence rails and posts are integrated into the texture, creating a cohesive and realistic fence structure. The vinyl substrate’s smoothness is reflected in the polished yet non-reflective surface finish, achieved through a controlled roughness value that balances light diffusion and subtle glossiness. This finish is critical to the physical-based rendering (PBR) workflow, where the BaseColor channel captures the rich brown paint tones, and the Normal map encodes the fine wood grain and slat contours for convincing surface detail.
Additional PBR channels include Roughness, which defines the surface’s tactile quality by simulating the smooth, painted vinyl texture; Metallic, set to near zero to represent the non-metallic polymer base; and Ambient Occlusion, enhancing shadow depth around the slat edges and fence joints. The Height or Displacement map outlines the raised wood grain and subtle bevels, allowing for enhanced parallax effects and realistic light interaction in 3D environments. The texture is designed for seamless tiling, enabling large fence areas without visible repetition or seams, and optimized for use in Blender, Unreal Engine, and Unity to ensure compatibility across industry-standard platforms.
For practical implementation, it is recommended to adjust the UV scale to match the typical dimensions of vinyl fence slats, preserving the proportion of the wood grain and painted details. Fine-tuning the Roughness channel can help replicate varying weathering conditions, from freshly painted to slightly worn surfaces. Additionally, blending the Height map with Normal details can enhance parallax occlusion, providing a richer sense of depth and realism when viewed at oblique angles. This texture offers a versatile and high-fidelity solution for visualizing modern residential fences with a clean and uniform aesthetic.
Import the texture maps into Blender with sRGB color space for albedo/base color and Non-Color for normal, roughness, metallic, AO, height, and ORM maps. Connect normal maps through a Normal Map node, then adjust UV scale with a Mapping node so the material repeats naturally on your model.
For the full step-by-step setup, see How to Use Seamless Textures in Blender. Browse related material examples in wood, concrete, and metal.
Yes. This texture is designed as a seamless tileable PBR material, so it can repeat across large surfaces without visible borders.
You can download PNG/WEBP versions and use 1K, 2K, 4K and 8K download options when available on the page.
Yes. The download options and engine-mapped ZIP workflow are designed for Blender, Unreal Engine, Unity Standard, URP and HDRP material pipelines.
Yes. The texture is available under the AITextured free commercial license. Review the license page for redistribution and AI-training restrictions.
Build, preview, and export seamless PBR materials. Generate full map sets from a single image, inspect them in a real-time WebGL viewer, and re-package maps for Unreal, Unity, and Blender—directly in your browser.
AI text-to-texture: type a prompt and get a seamless, tileable base image ready for PBR workflows (great starting point for materials).
Create a full PBR set (Normal, Roughness, AO, Metallic, etc.) from a single image. Seamless and tiling-friendly.
Instant WebGL viewer: inspect materials on a sphere, plane, and cube. Check tiling and lighting in real time.
Re-packages maps per engine: Unreal (BaseColor + ORM), Unity (Mask/MetallicSmoothness), Blender (separate channels).
PNG ↔ JPG ↔ SVG: fast convert, SVG rasterize, embed/trace options, quality & background controls.